DIY Brow Tint at Home
So we’re over eight weeks into lockdown and I’m seeing more and more people DIY-ing some of their most missed beauty treatments at home. A few weeks ago I actually decided to try a DIY brow tint at home. You might have seen that I recently had my brows microbladed just before lockdown, so why brow tint? Well, I actually LOVE my microblading results, and loved them even more after my super-talent brow technician (link to her site here) decided to go a little darker with the shade on my top-up session. So much so that I wished my own brows were a little darker to match the microblading. Even before the brow tint, I wasn’t wearing any product or makeup in my brows, so if you don’t like a darker brow then microblading alone would definitely be enough for you.
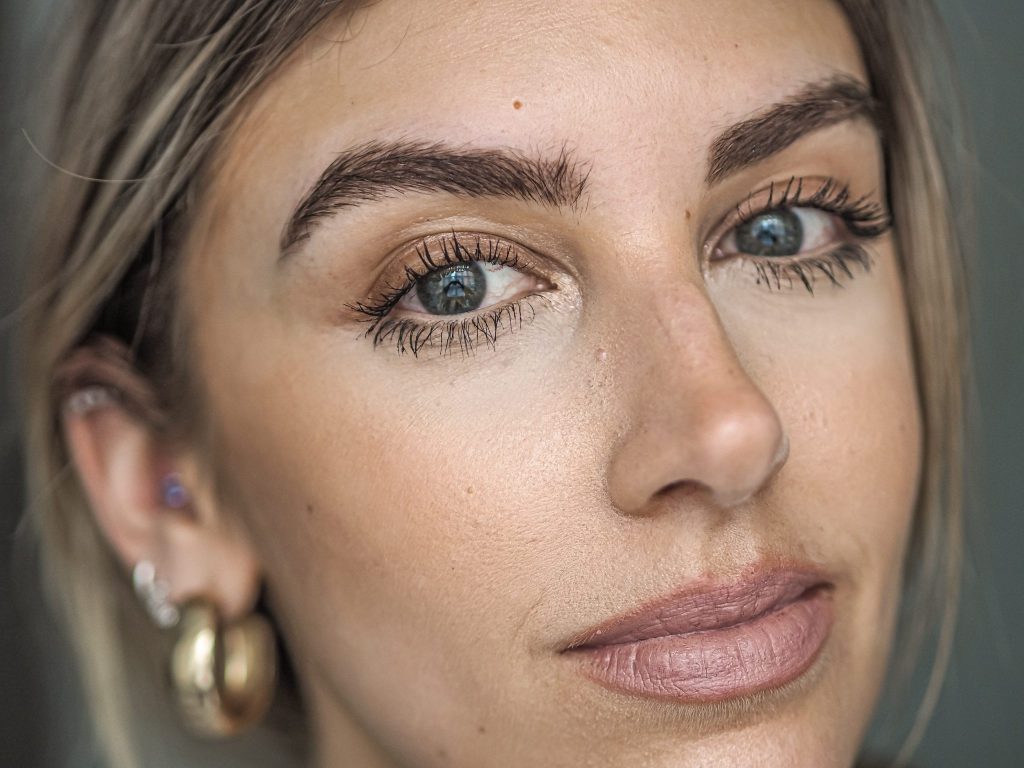
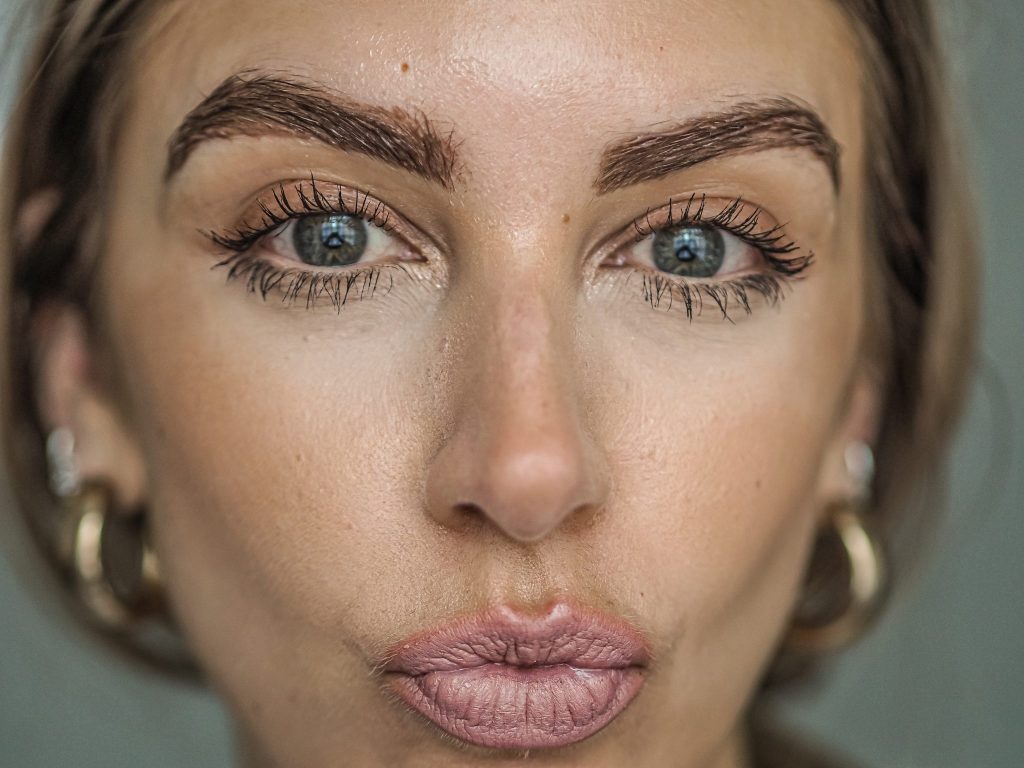
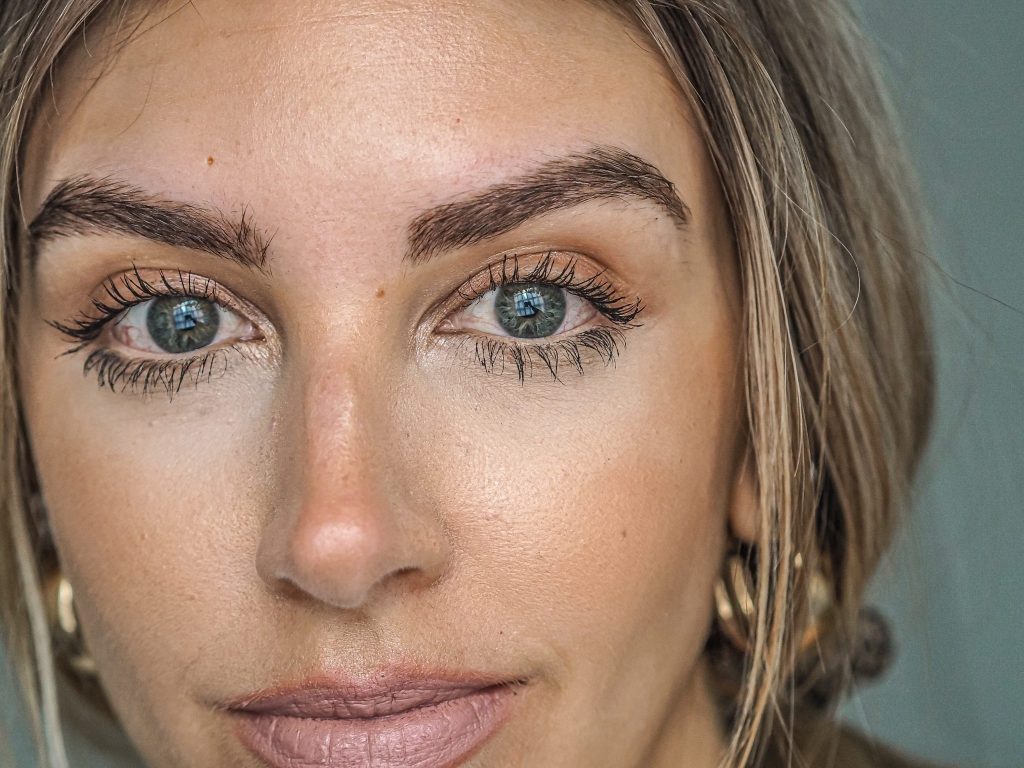
I have been loving a darker, thicker brow look, and my I felt like my ashy-light brows were almost taking away from the microblading effects. So I thought ‘what better a time to try and tint my brows at home?’. DIYing something like that; a key feature on your face that really changes your appearance and how your face is framed would be something I might be a bit more nervous about if the circumstances were normal. However, we can’t leave the house so if it goes wrong then I have chance to resurrect them! As you can see in the images, my brows themselves are quite light and have a few sparse patches. The microblading made this a tonne better (before this I filled my brows in as part of my makeup routine every day), but I figured by deepening my brows, this would make the results even better.
Eylure Dybrow
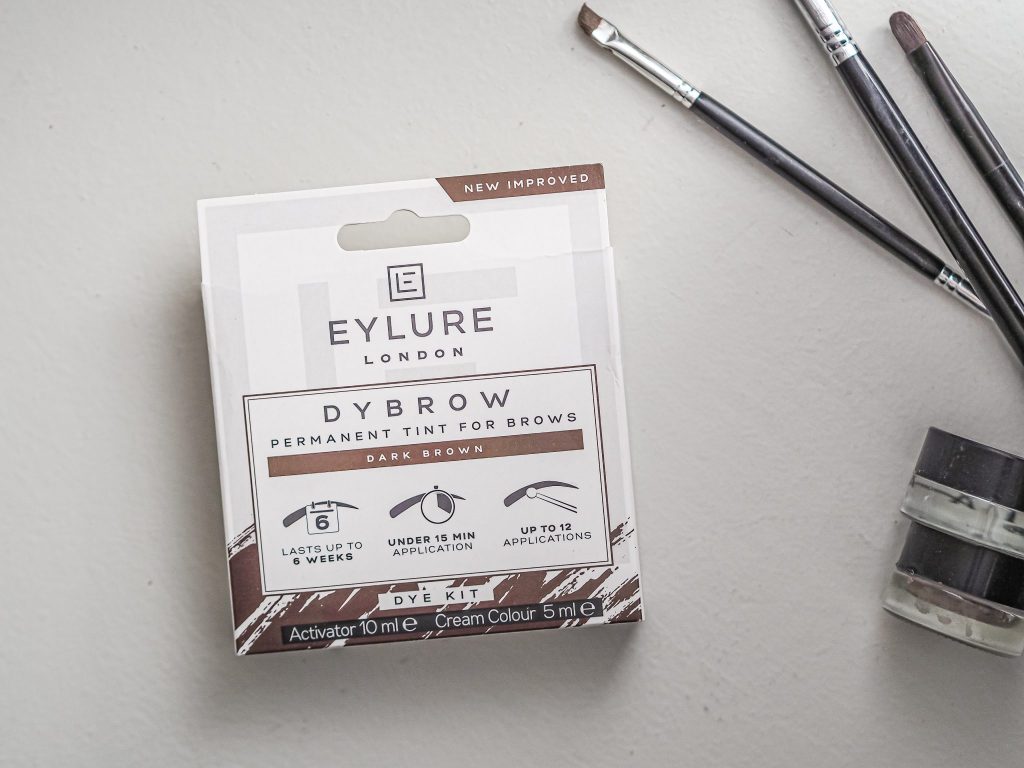
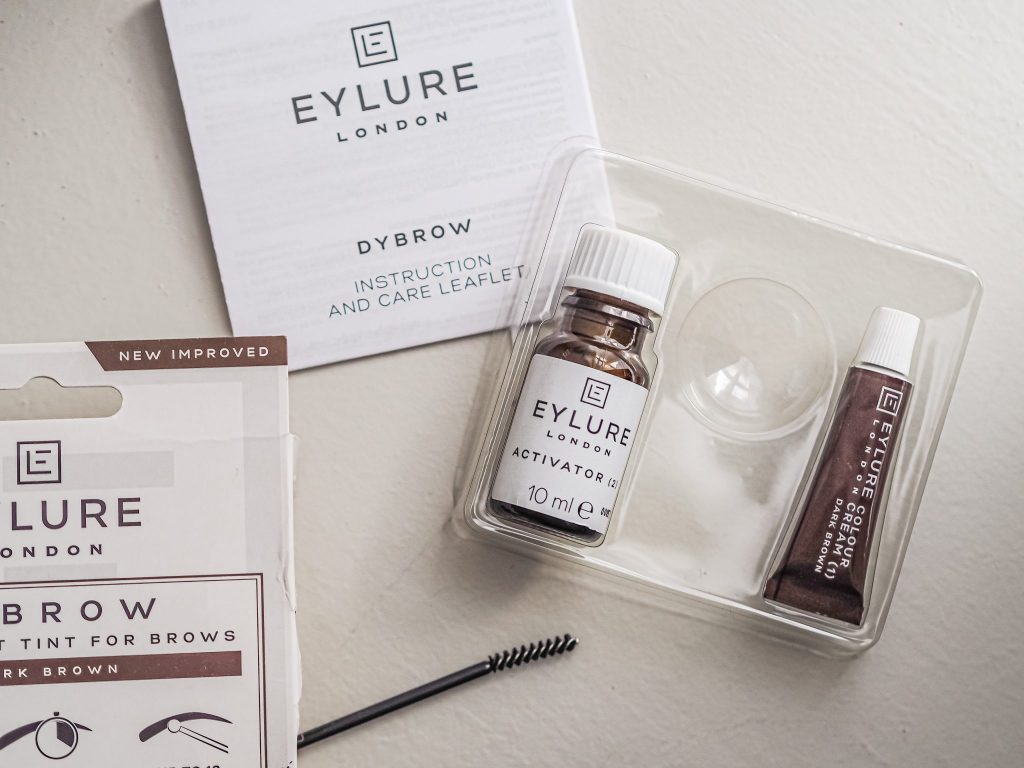
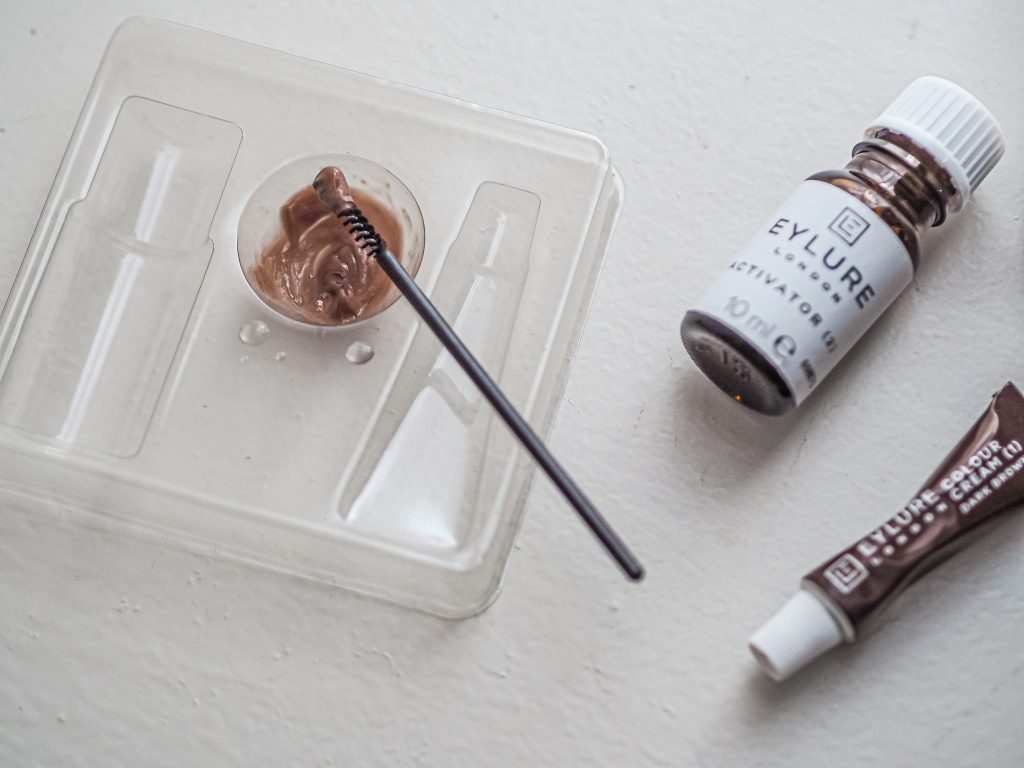
After doing some research and reading blogs, I decided to go for the Eylure Dybrow kit. It looked really straight forward, was affordable and had some great reviews. The kit was around £7 and provides up to 12 applications – so really great value. I opted for dark brown but there are a few shades to choose. Within the kit, you get a colour cream, activator oil, a palette to mix, application brush and instructions.
The process is super simple:
– Squeeze a tiny amount of the colour cream into the palette, followed by a few drops of the activation oil, and mix. Think of this like when you see hairdressers mixing colour and activation cream in a bowl at the salon; it’s just a teeny tiny version of that!
– Apply a thin layer of vaseline (or similar) to the skin around the brows to ensure you can remove any product that strays easily.
– Then simply apply with the wand and wait 5-10 minutes. 10 minutes is optimal timing but it’s totally up to you – if you don’t want it to be super dark then just wash off after 5 (or however long you’d prefer).
– Wipe clean with a damp cloth , and you’re done!
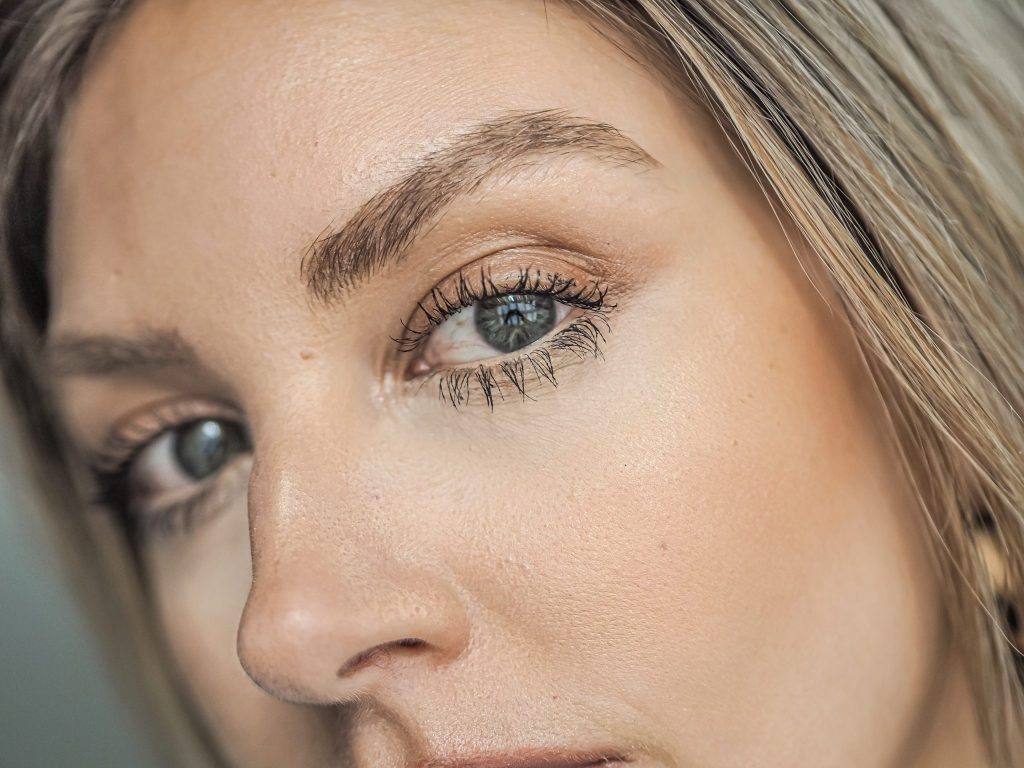
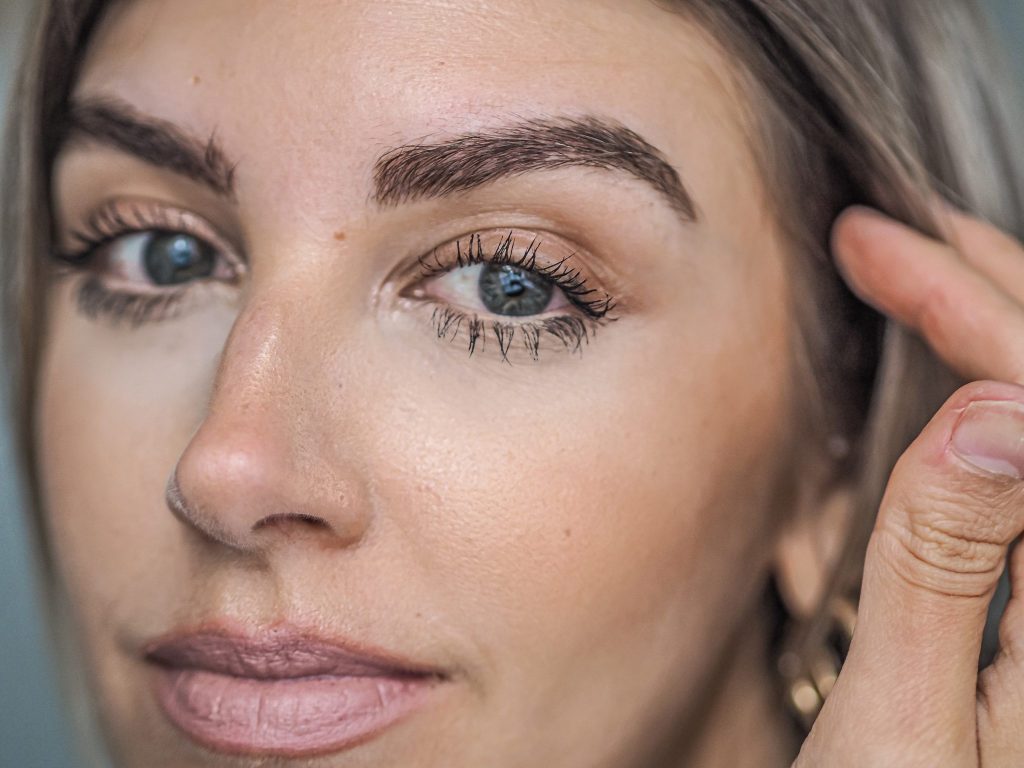
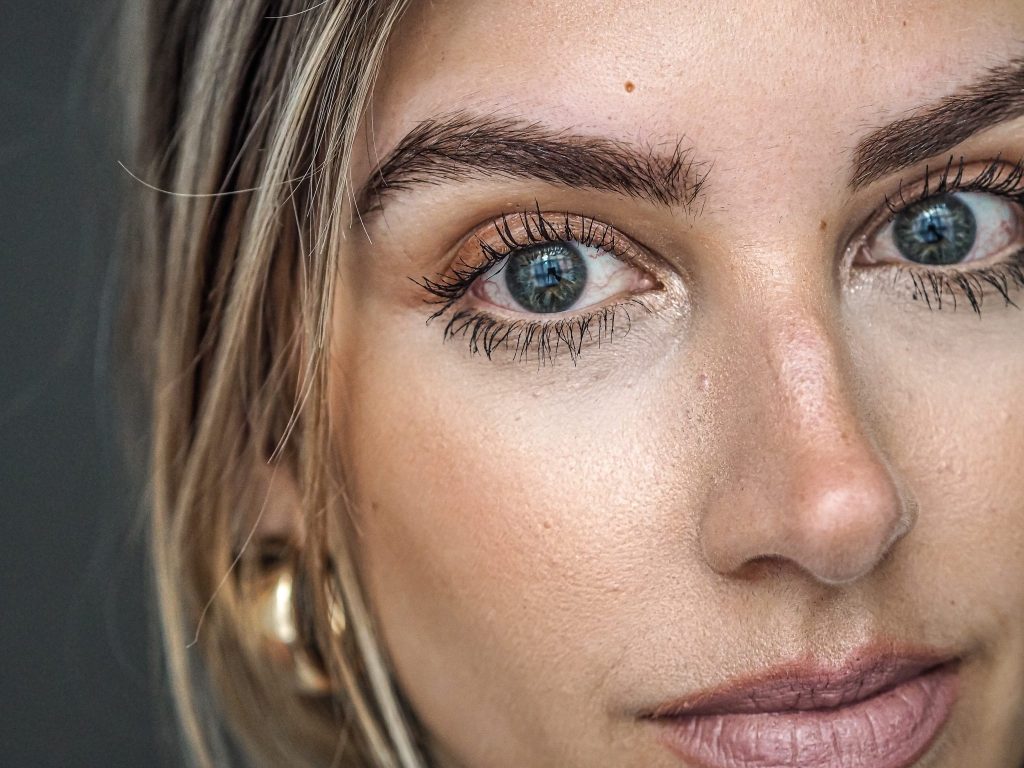
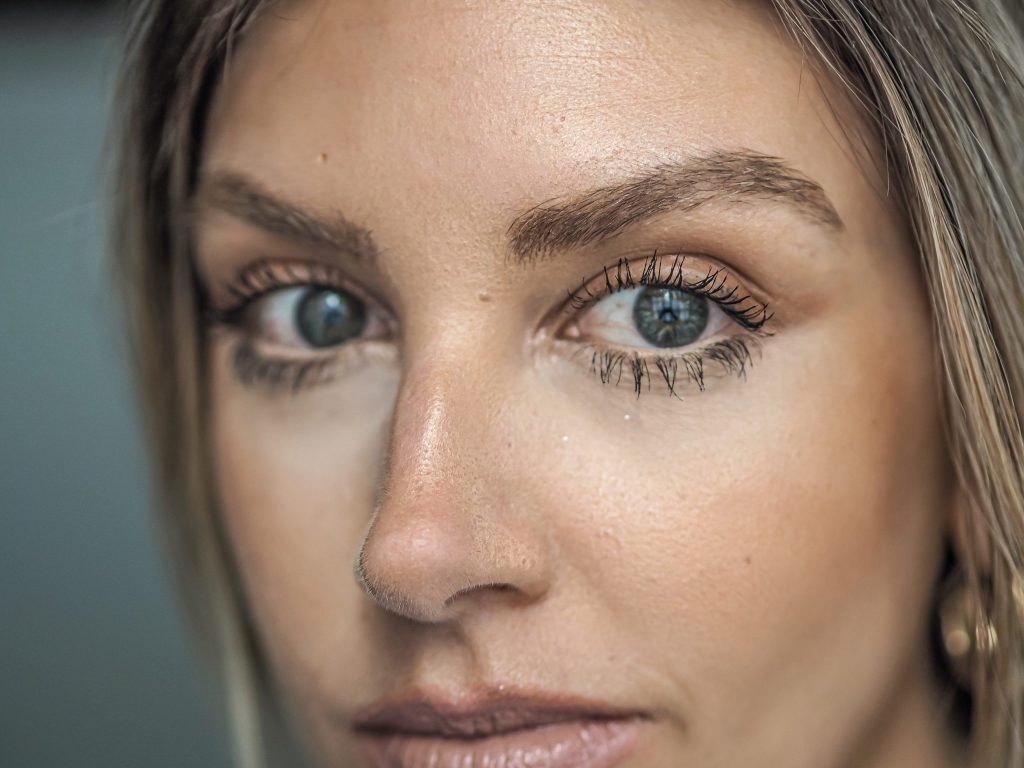
I’ve tried to show you the dye on the brow itself in the last image above. The left one has dye applied and the right is without. As you can see it is quite subtle, and the wand makes application really precise, so you can’t really tell it’s even there! It’s just a brown paste which deepens slightly over time. Really minimal mess which is great! The vaseline tip helps a bunch too and removing was so easy.
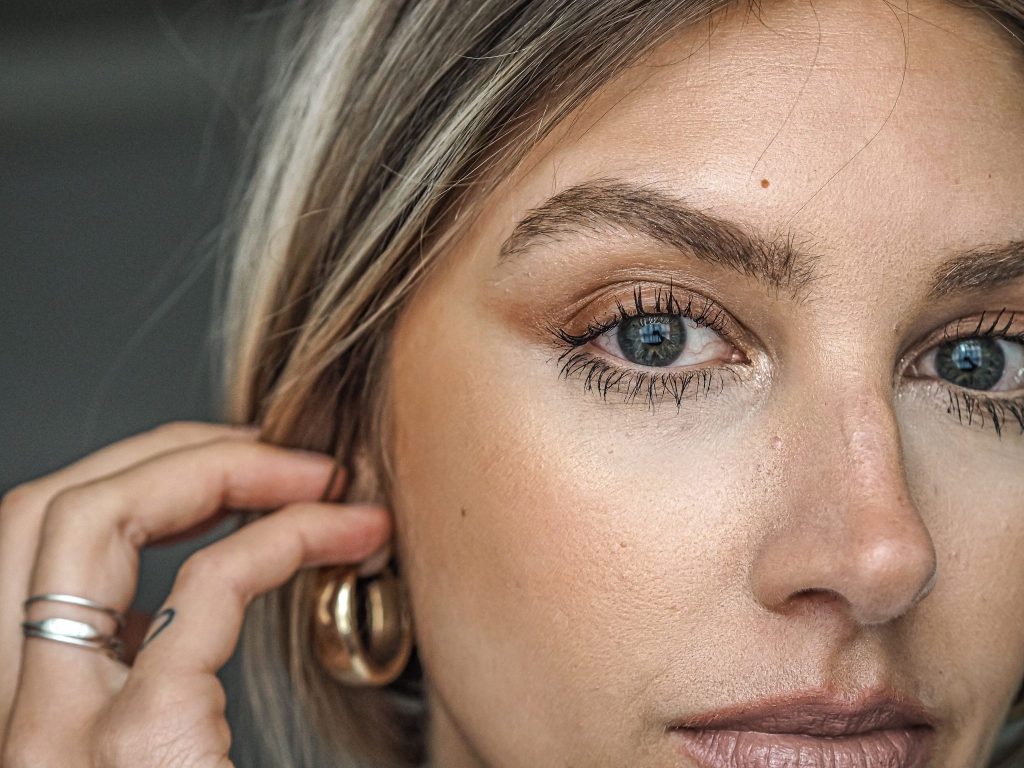
Before 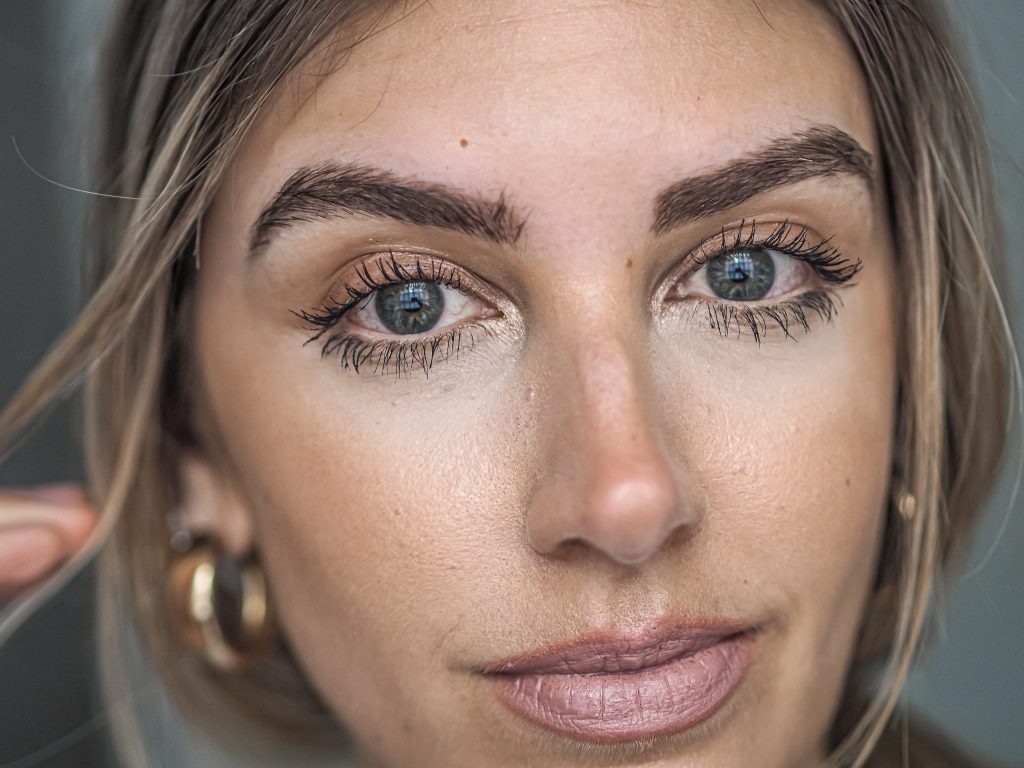
After
Results
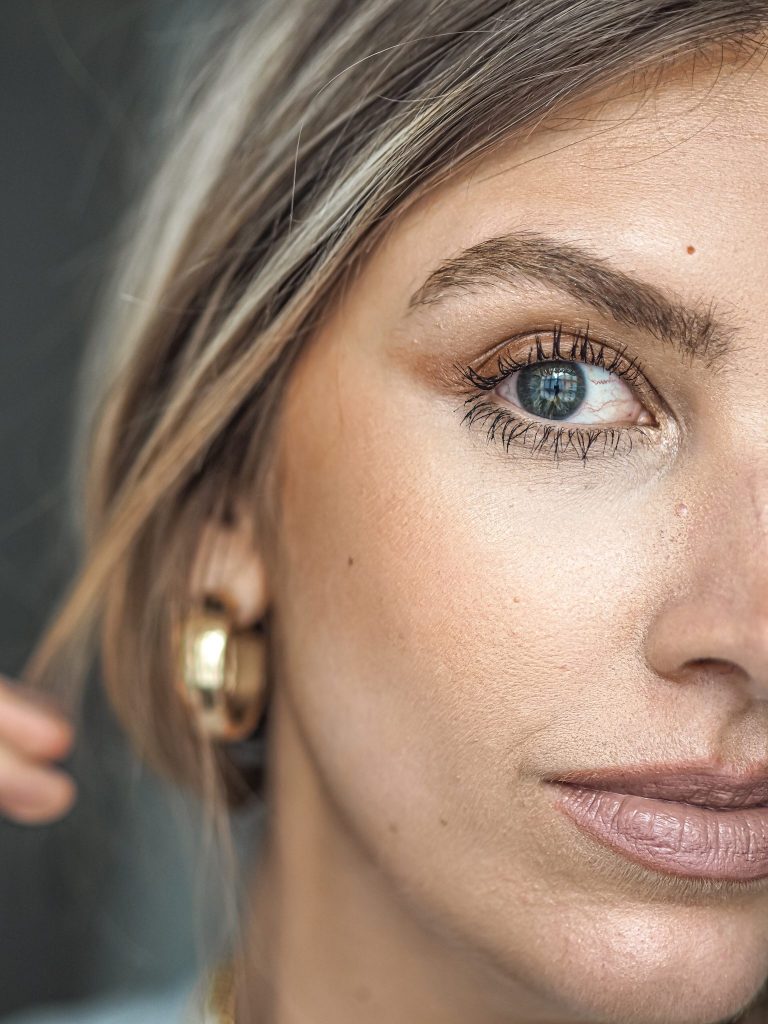
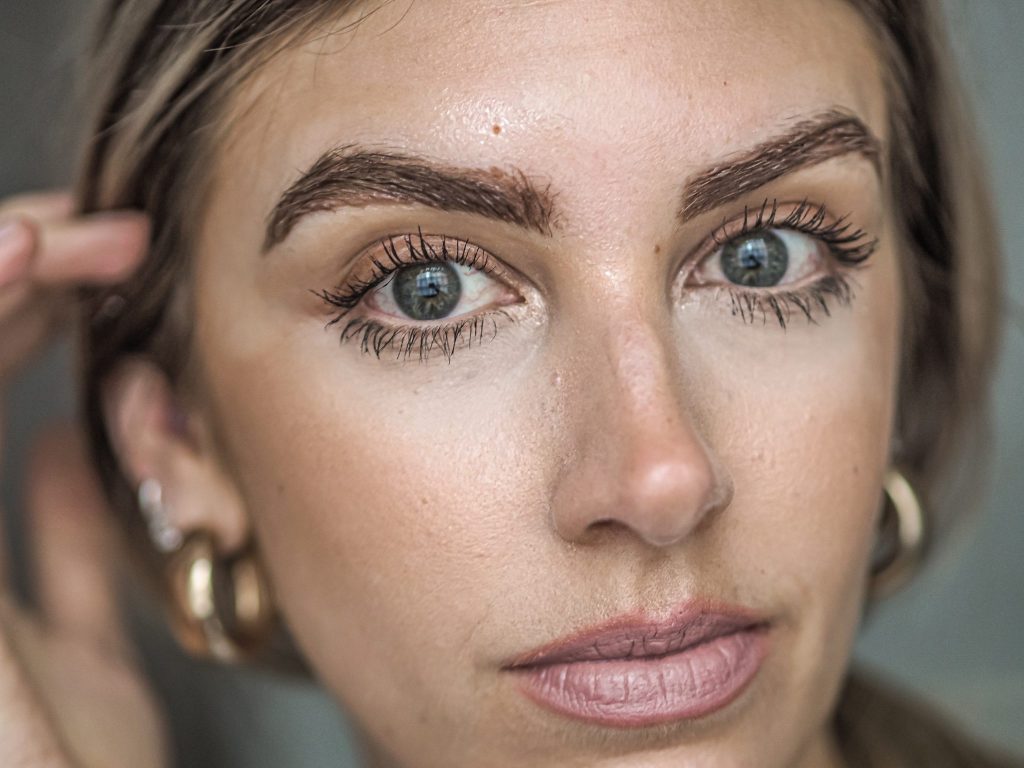
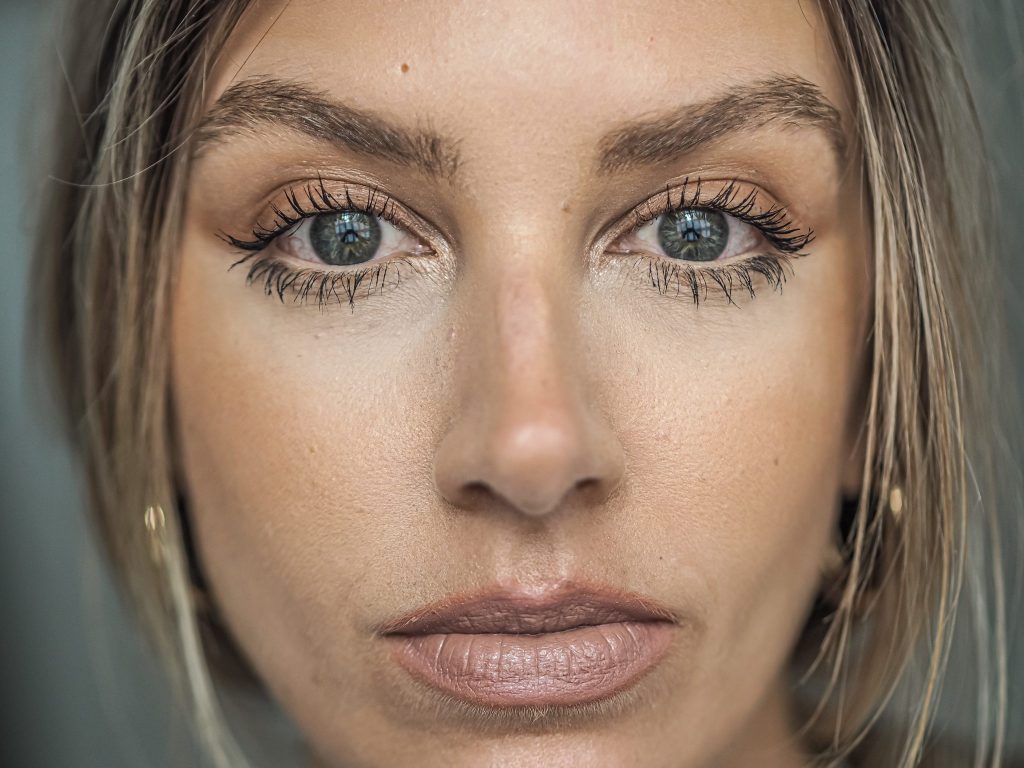
Et voila! Here are my results. I left on for the full ten minutes to get a true, deep brown shade. I honestly was so impressed with the results, they turned out even better than I thought they would! The shade is just what I was hoping for and I think it matches my microblading shade too; so I now feel like I’ve found the key to the perfect brows! I’m even more pleased with them now they have the darker colour, and I will 100% continue tinting my brows after lockdown. I actually never had anything at all done to my brows before, until the microblading. I only ever plucked and applied brow pomade as makeup. So unfortunately I can’t compare to any professional treatment, but for me this is absolutely perfect and I don’t see any need to get them tinted in a salon when it’s so simple and affordable to do at home!
I actually also think they look pretty natural. My roots are quite dark (and getting longer by the day) and I think the dark brown brows with my current hair colour compliment each other nicely. I’ve popped some before and after pictures above and below so you can see the difference and compare the two.
Review
This is the first kit I’ve tried so maybe I will try some more after this and share results, but if you’re looking for a kit to try then I would 100% recommend this. It was so easy, I love the results and I will get loads more uses from the one little kit.
You can get it on a tonne of beauty websites, as well as in some supermarkets and on Amazon here.
What DIY beauty treatments have you been trying at home? Let me know if you try this one!
LL x
I’ve been using Dermalmd Brow Growth Serum for the last 7 weeks on my sparse brows. I’m in my 50’s and everything is thinning except my waistline. I have noticed an increased growth where I had overplucked in the past. I cannot believe how my brows are growing and filling in the areas that I had damaged. It’s refreshing to find a product that actually provides the promised results. Love it!
Love this! 🙂