

DIY Hair Bleach and Tone with Schwarzkopf Blondme
Ironically I’m actually only just getting round to writing this just as I’ve dyed my hair pink (temporarily)! However, I wanted to share my DIY hair bleaching and toning experience at home with you guys. It took me SUCH a long time to work out what products to buy and how best to do this, I finally decided on the Schwarzkopf Blondme range. There didn’t seem to be any blogs reviewing these products, explaining the process properly or before and after pictures. I spent hours trawling through reviews on different websites, jumping between YouTube videos and professional tutorials, and finally pieced everything together myself.
You’re probably wondering why I went with this product if that were the case. Honestly, I’ve tried hair bleach kits before and never been 100% satisfied. I’ve also obviously had those moments where it turns out hideous and I regret everything; shortly followed by me calling my hairdresser to fix my mistakes (and apologise for trying to do their job myself and completely failing). So when lockdown happened, I figured it was the perfect time to try DIY hair bleach, but properly. I did a tonne of research and this was the product came up time and time again. It’s also more of a salon-standard product so I felt like it was more reliable than a quick-fix box dye.
Hopefully this will help some of you who might be wanting to do this at home. I also did a quick video which I will probably post on IGTV this week if you want to see me chat through each product and why I chose them.
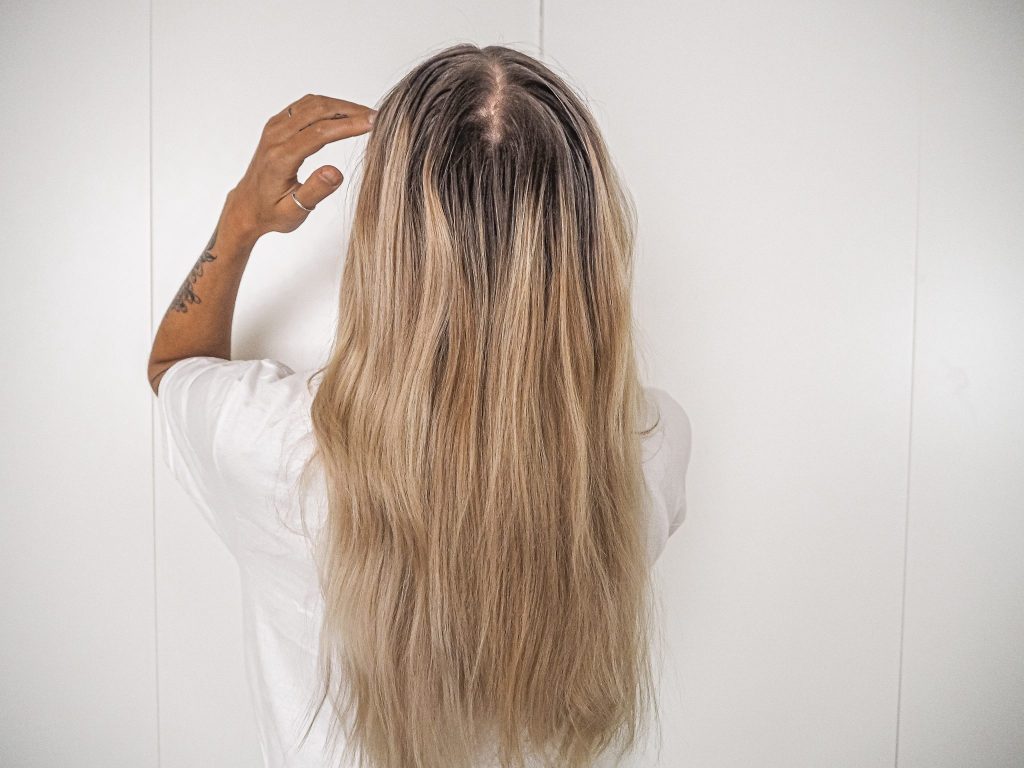
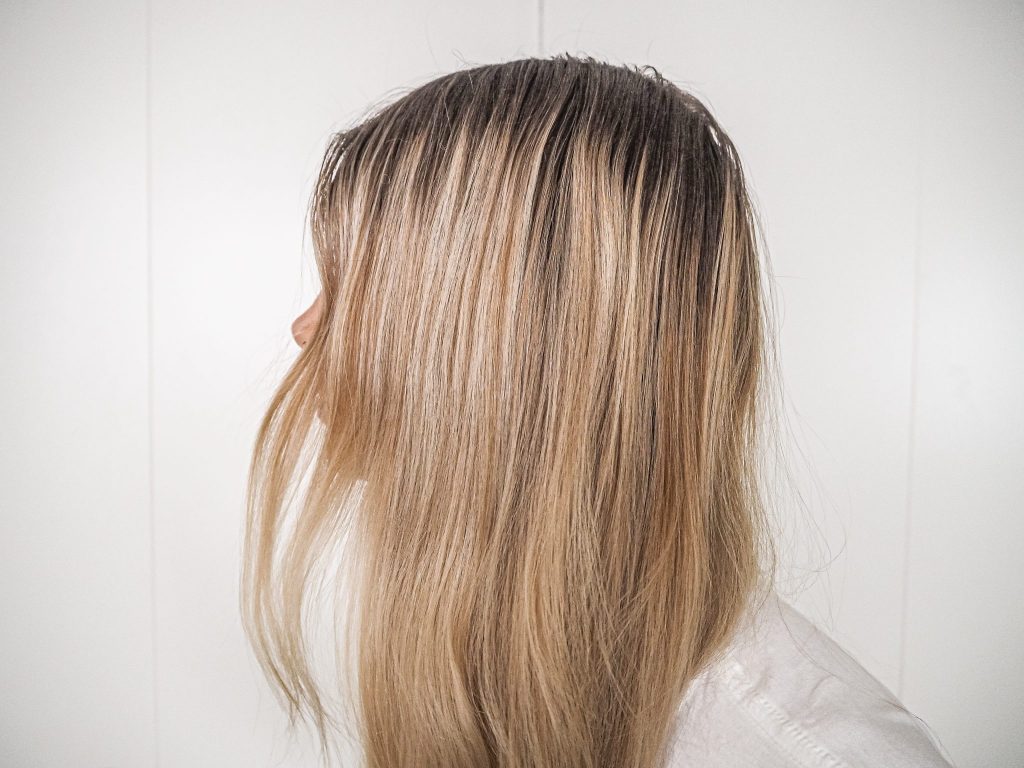
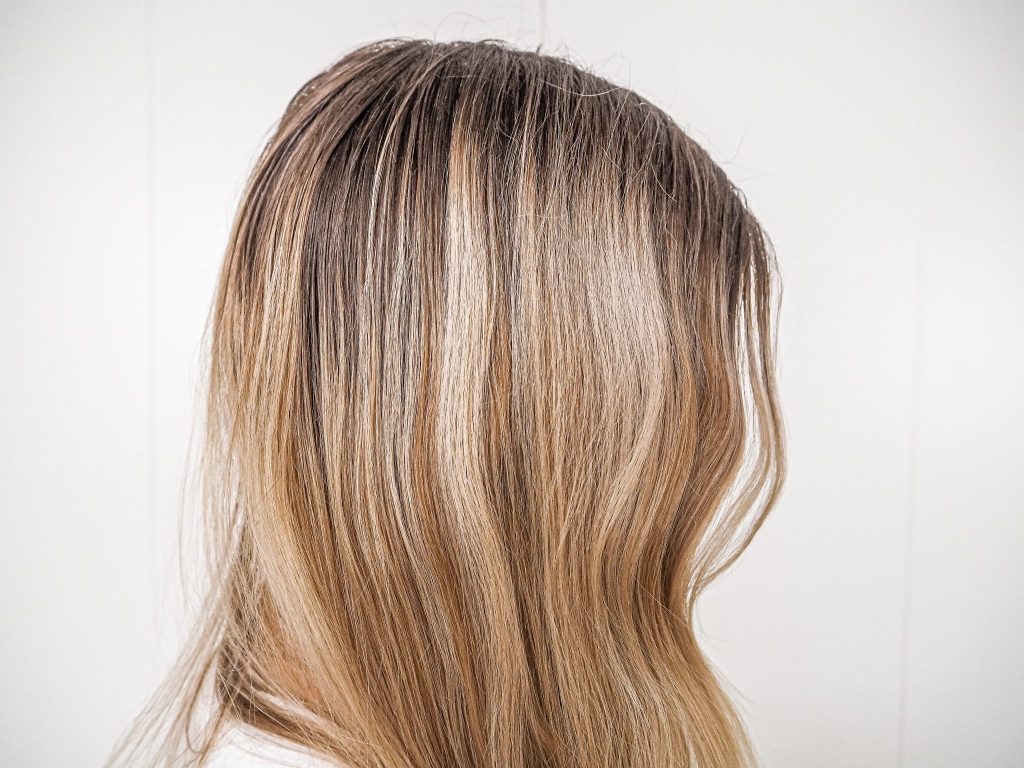
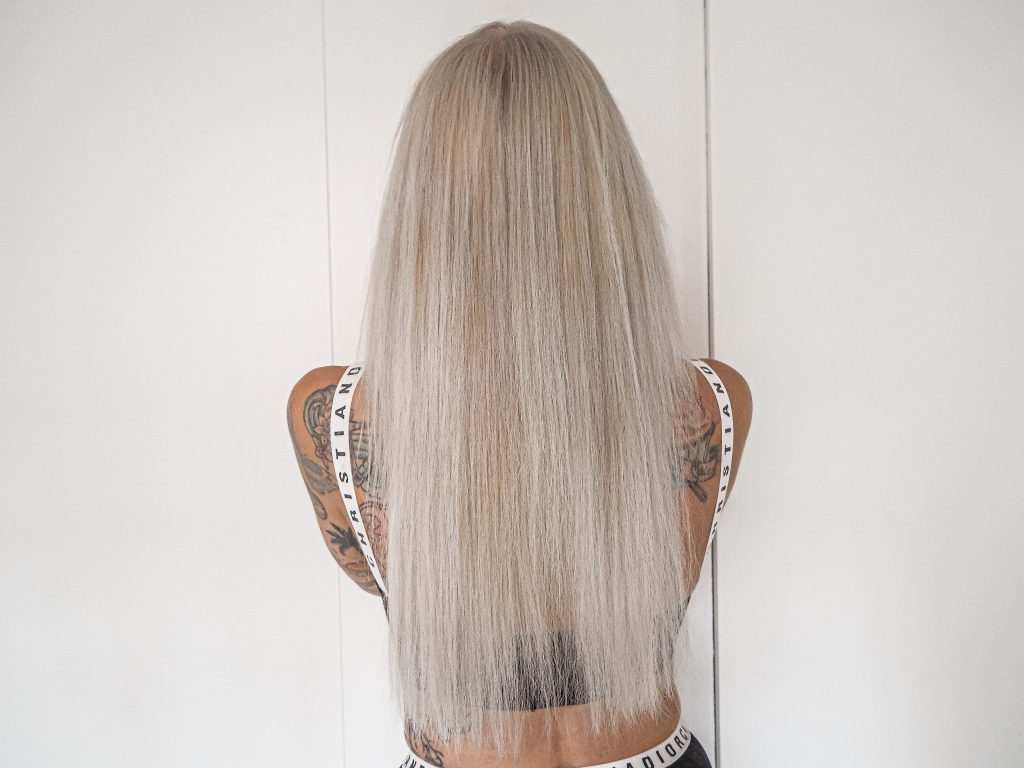
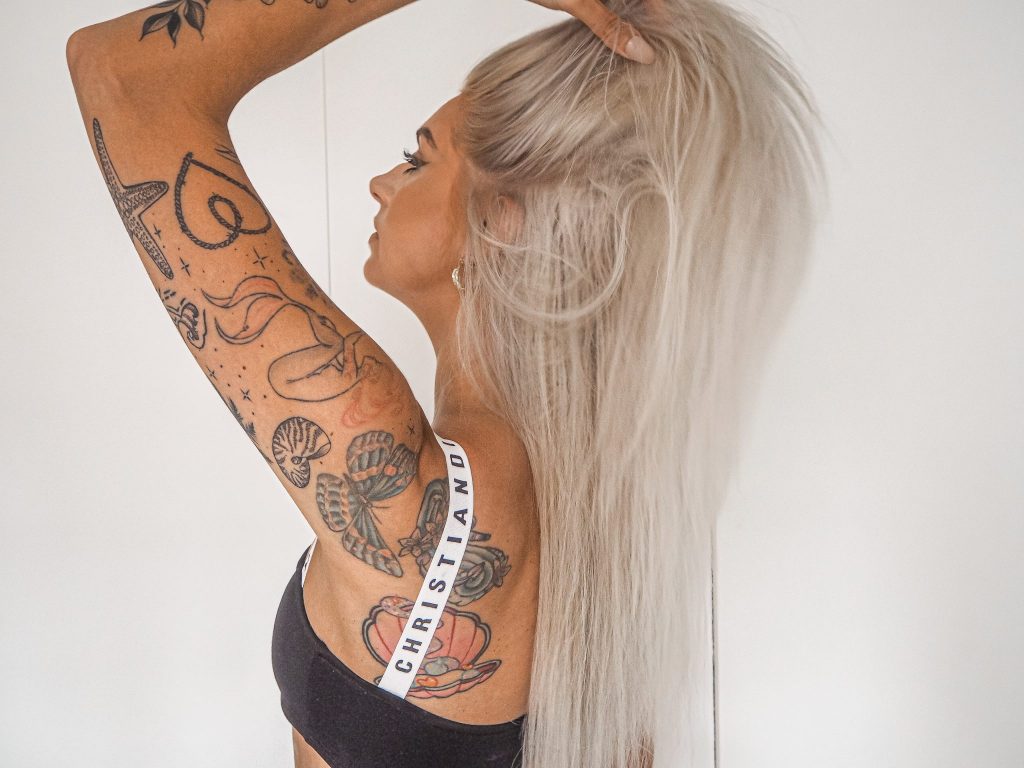
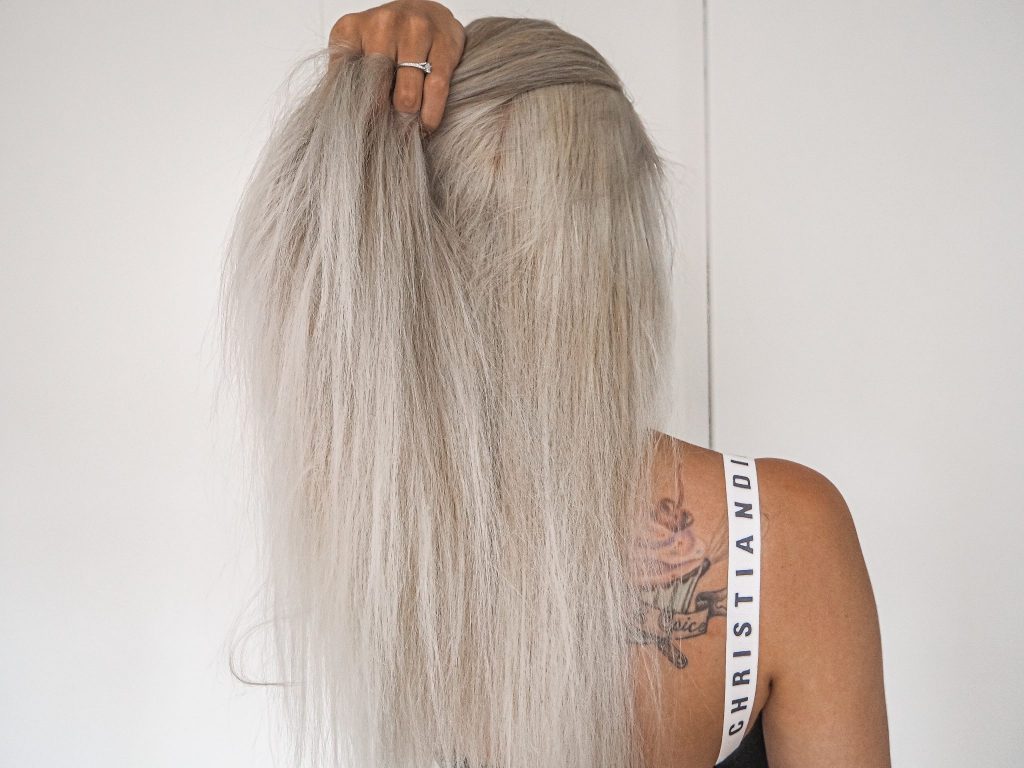
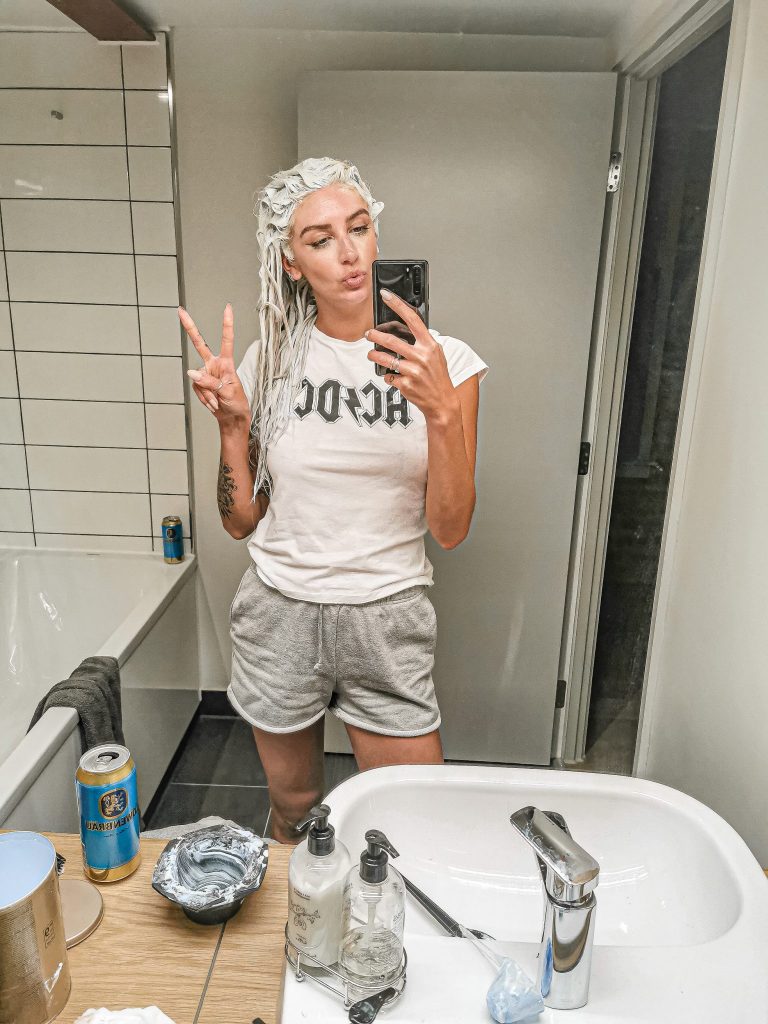
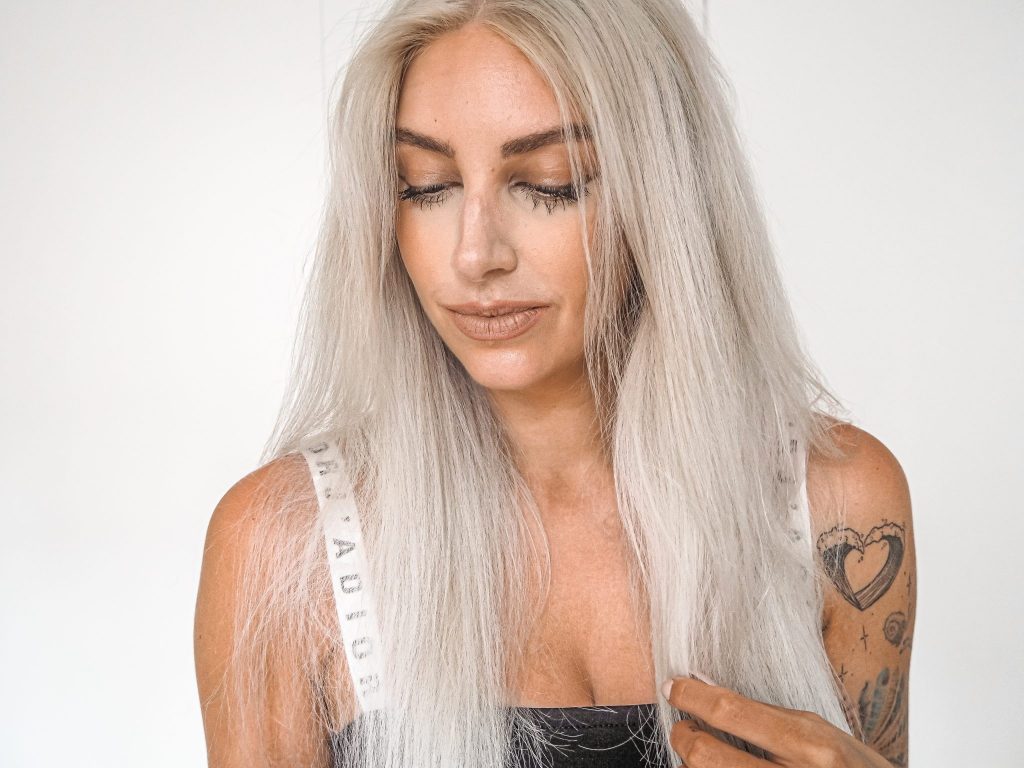
Before
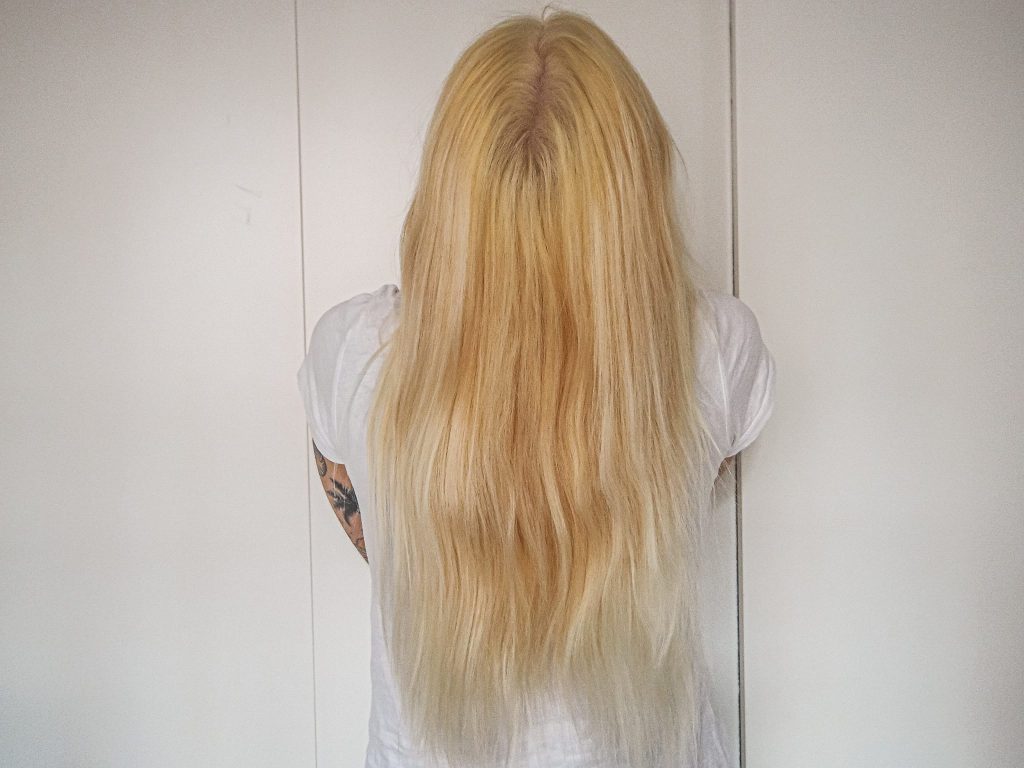
Bleach
Toner

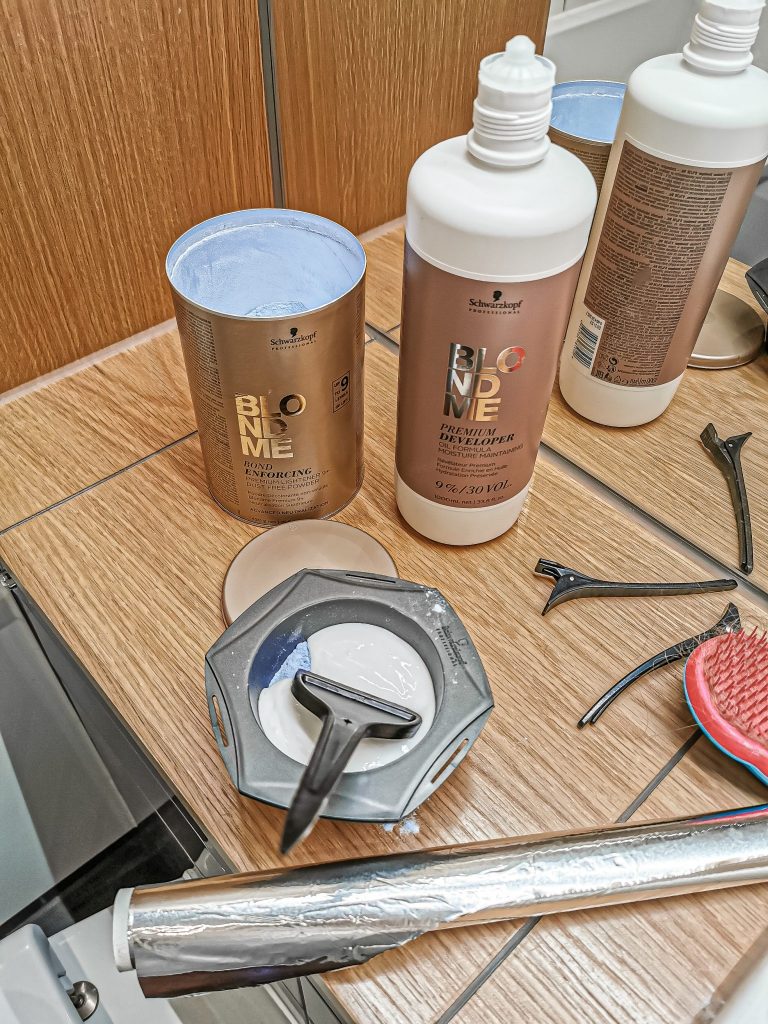
The Products
So as I mentioned, this is more of a salon-standard product. This also comes with the complexities of a salon product, so there are a few things to consider and options to choose from before you begin. It doesn’t just come pre-packaged and ready to go all in one box, so you will need to buy a few items separately.
What To Use
The base for lightening is the Schwarzkopf BLONDME Bond Enforcing Premium Lightener 9+. This is a lightening powder that you mix with the developer to create the bleaching product. I chose a 9% 30 vol developer. There are different strengths of this so I’d recommend checking to see which ‘vol’ would be best for your hair colour, to get the best result without damaging your hair. I also purchased a mixing bowl and brush (just like what hairdressers use) to mix and apply.
After bleaching you will need to tone, if you want to get rid of the brassy yellow colour. There are a million and one toners out there; but as I was investing in doing a salon quality job at home, I wanted to order everything from the same range. If you also want to do this, you will need another developer; this time you will need the Schwarzkopf BLONDME Developer 2% 7 vol, which is the same for whichever toner you use. Schwarzkopf Blondme offer a range of toners; I chose the Icy Toner for a bright, light blonde. Initially I bought apricot, which I actually got too scared of using and decided to stick with what I know!
There are a handful of other pastel tones which all look great. I’d definitely stick to something you feel a bit safer doing to begin with if you’re new to this. My hair is long so I got 2 tubes of toner and literally had just enough to cover my head. If your hair is my length or longer then I would 100% recommend getting 2 tubes as a minimum.
The Process

So I won’t lie, it’s quite a long process. One of the things I hate about the hairdressers is being there for so long. I always think at-home dyeing is quicker, but this definitely took just as long. That said, it’s nice to be able to have a drink and be in your own space whilst doing it, and then do your own thing whilst you’re waiting for it to develop.
Ok, so if you are doing this with long hair and for the first time, the first step is to get help!! I could not have done this on my own, so its way easier if you have someone there to assist. I mainly needed help to make sure all the roots and back of my head were covered. The end bits were a little easier so I could have done that part myself. (This may be down to the fact that my roots were so bad though!) I will try to keep on top of this now, so it shouldn’t be such a big job. I also saw a couple of people on Youtube with a fancy multiple-mirror set up to help them do it solo.


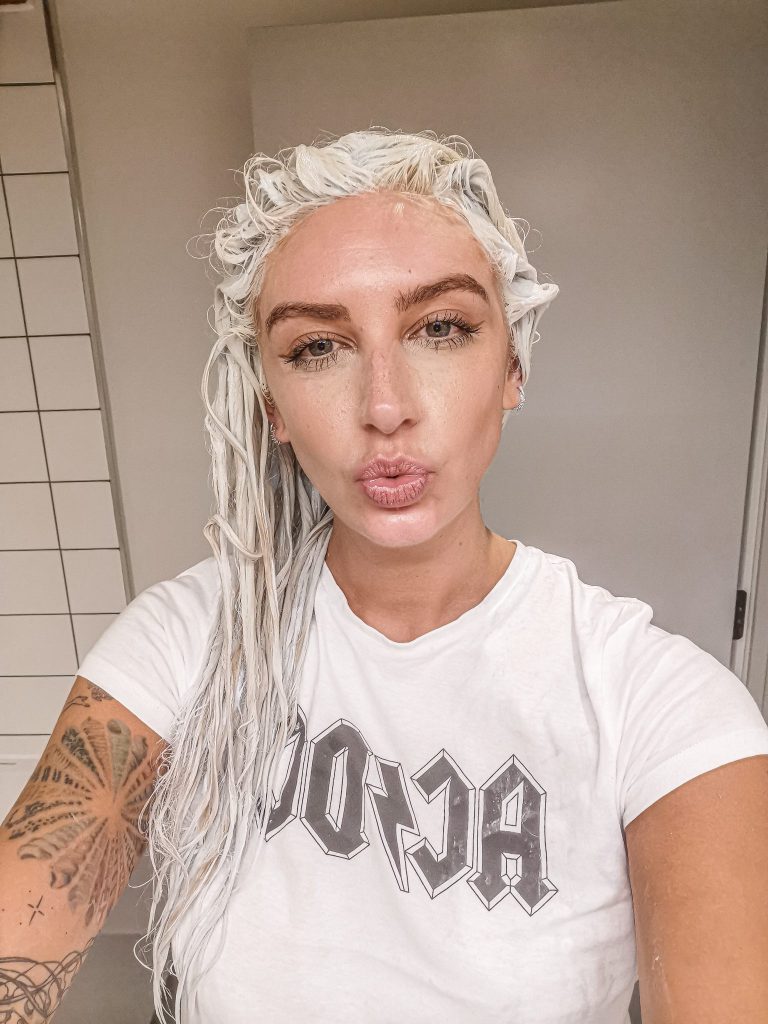
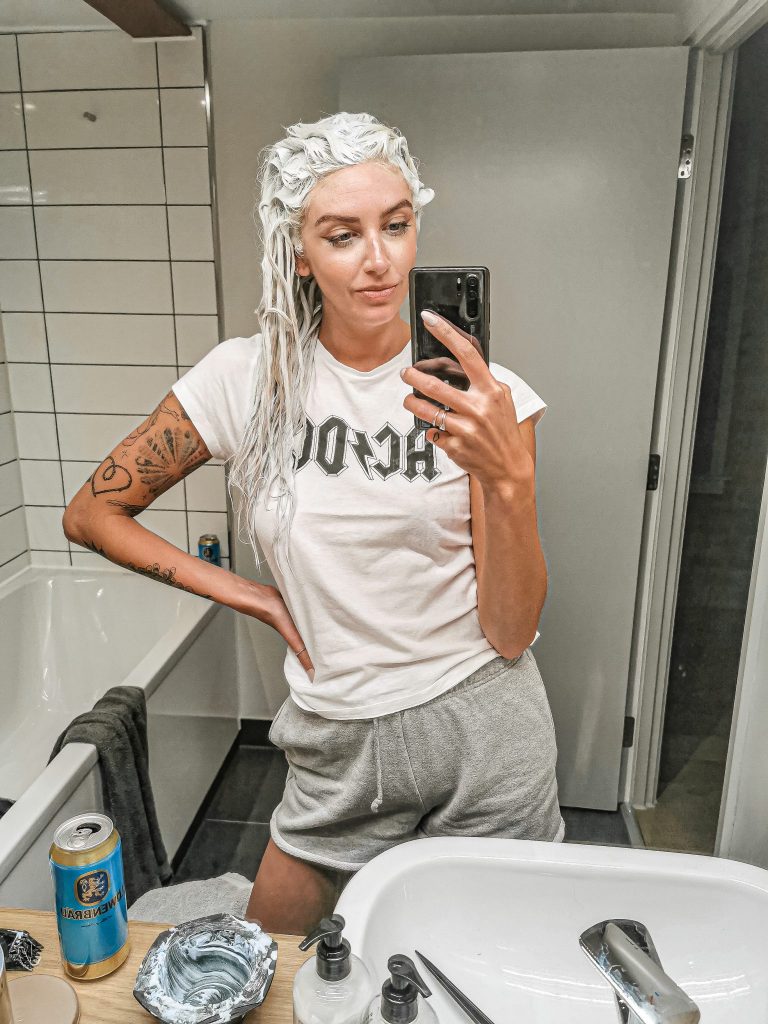
Bleaching
Ok so to bleach.. Mix your powder and developer. There is a variable mixing ratio of the products here; 1 scoop of the powder and between 1.5 and 2.5 scoops of the developer. I did 1:2, simply because I thought the middle ground was a safe bet! But do some research and check what would work best for your hair.
We took thin sections, starting at the back and worked forwards and up the sides, ending at front middle. Taking each piece, apply the mixture with the brush, leaving the new, root hair until last. I did the mid-lengths first, so the long roots that had previously had some colour but was now darker and wasn’t new hair. Then spread the product down to the ends, which for me was already quite light. After each section, fold in foil. Finally we covered the new root hair – we went back in afterwards to do this as it ‘takes’ the bleach quickest.
The development time is 20-45 minutes. It had already been on the back section where we started for 45 mins by the time we finished; but I wanted to leave the front to develop a little longer to achieve an even colour. You can just slide off sections of the foil to see how the colour is taking. After the front had been on for 45 minutes I then washed it off.
The Blondme products actually have something similar to Olaplex built in, so they are less damaging than other bleaching products may be. That said, I still used a hair mask after this stage just to add an extra level of protection.
Just as an extra note – I know there’s a lot of information and products to remember here! I find it super helpful to label all my products each time I use them. It just helps me to remember the amount I need to use, what colour the toner or dye is as sometimes these types of salon products aren’t as clear as the high street ones. Since I have made this a bit of a regular at-home salon situation, I also try and make it a bit more fun! I started adding fun stickers to some of my products, taking the time on a weekend to have a glass of wine, unwind and do some hair pampering. I got my personalised stickers on GS-JJ.com where you can also add fun pictures and patterns!


Toning
As I did mine at night, I waited until the next day to tone. It was kinda late after we did the bleach. Plus it was quite nice to have a break (I’m sure it was for my hair too!) and do the full process when it was convenient for me.
This part was definitely easier than bleaching, and I managed most of it myself. I just got help once I’d applied to make sure I hadn’t missed anything, and apply more if so. For this step you mix equal parts developer (don’t forget to use the different developer!) and toner. It required less precision, so after mixing I just sectioned off my hair and applied with the brush from front to back. Development time is up to 30 minutes, but you don’t need to use foil, so I just based it on how it looked. I probably left mine for a little longer as again, the bit I started had been on for 30 mins by the time I got to the end.
Finally I just washed it out and that completed the process!


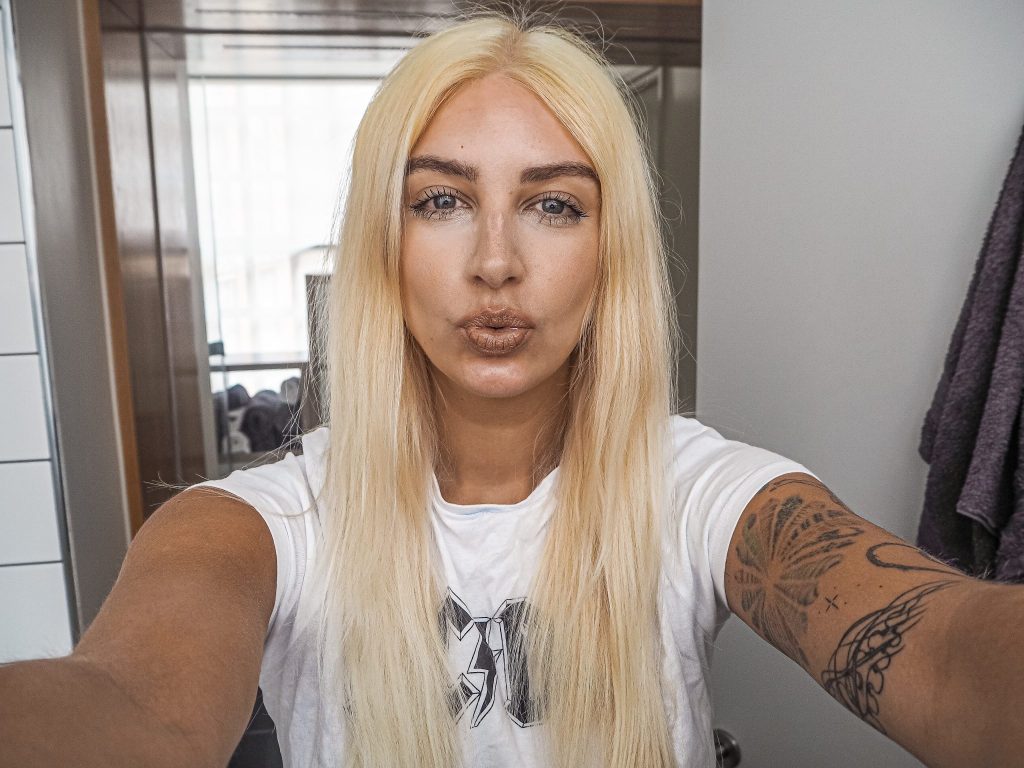
Results
I am honestly super impressed with the results. It was definitely more costly (in both money and time) than a box dye, but the quality and results speak for themselves. This is easily the best silver-blonde colour I have achieved at home; especially from the position I was beginning in.
Finding how to do it and learning the whole process was probably the hardest part. Now I feel a bit more like I know what I’m doing, I’ll hopefully be able to keep on top of my roots and do this more regularly to keep on top of them!
I should also mention that the products are more like bulk quantities, so I have plenty left. Apart from the toner which you can just buy as and when you need. This is great if you want to make a habit of doing it at home. If I can’t get to a salon I will now just top up my roots (before they get so long this time) and I have everything I need. Plus a little more experience now!

Schwarzkopf Blondme Review
So, if like me, you were driven to home-hair-dying thanks to lockdown, or maybe you just fancy doing your own with salon level products; this is definitely a product I’d recommend. It may even help those who now can’t get into salons as they are starting to open again – I’m sure they’ll be getting a huge influx of bookings, so you may struggle to get an appointment for a while! I would just bear in mind that there is added complexity with the options of different product strengths, and the mixing of elements yourself at home to create the bleach and tone.
As mentioned a few times, just be sure to carefully read all the instructions, and do your research into your own hair type and what products work best for you – please don’t base it on what I have shared here! I did a lot of reading into my colour tone, the ‘vol’ of developers and what the impact would be on my hair before I purchased.
My hair is a little more dry afterwards, but I do think it’s to be expected with bleaching. Plus this comes with an added benefit for me of it holding curls or waves for longer. Does anyone else have this?!

You can find more info on the Schwarzkopf Blondme products here. Hope this was helpful, and feel free to comment below or drop me a DM on Instagram if you have any questions!
LL x
You can find more hair and beauty posts here and here.
*My posts may contain guest links.
Thanks! Looked great. Gave me confidence to do it myself.
Thats great to hear 🙂 x
Where did you buy there blondme products? I’m a little concerned about getting fake products of I get it on Amazon. I’m not a professional btw. Also did you apply this to your already highlighted/bleached hair & didn’t wash our any pieces midway? My hair is heavily highlighted with LOTS of growout. Concerned about breakage from overlap. So considering either my own highlights or all over bleach. Thanks!
I ordered them from a professional haircare website so I knew they were all genuine 🙂 And yes it was already lighter at the bottom from previous colouring at the hairdressers but I applied on the roots then went over the whole head afterwards to remove any yellowness. You could always just do the roots first and leave the growout as it is if you’re happy with the colour, or just apply toner to the lengths 🙂 x
How do you decide which developer level to get? I have very fine, hard to lighten hair.
Hey Lisa,
I just researched to see which developer would be best suited to my hair 🙂
x
Just wanted to thank you for showing me the process. I was on the fence about blondeme and I now feel ready to use. Had to write my gratitude. Your work & sharing it I know saved me lots of trial and error . I just really value detailed sharing of hair color processing. My canvas looks a lot like yours. I bleach no problem and then have toner anxiety. Lol
Wow, so detailed and very helpful! Thank you
Thank you! So glad you found it helpful 🙂
Hey,
I’m looking to use this product very soon for the first time
Didn’t know how much developer and toner to mix together , So reading your informative article
I take it as you use equal amounts of the developer and toner ?
Never used a toner like this before always use directions white toner.
Thank you for your help
Hey!
There is a variable mixing ratio of the products; 1 scoop of the powder and between 1.5 and 2.5 scoops of the developer. I did 1:2, simply because I thought the middle ground was a safe bet!
x
I just used the Blondme toner, ice for 20 minutes and it’s gone a bit grey
Perhaps I left on too long ? Or my lift was lighter then yours
Thanks for replying x
No problem! Some of them can have a grey/blue tint at first but it tends to fade after a wash or two 🙂 also depends on how quickly the colour takes to your hair! x
Did you apply the toner to wet or dry hair?
I did mine on damp ahir – it shouldn’t be super wet, but its definitely better to be damp. I’d say towel dry – 70% dry is ideal 🙂 x
I can’t tell what color stuck to your mouth – did it stay that way or did you tone it too?
sorry what do you mean? x
Did you use olaplex 1 and 2?
I use the L’oreal bond repair which is a dupe for olaplex but more affordable 🙂 I bought this bundle from boots: https://www.stylink.it/vad4NHXoBA
Hi I love blond me products! You mentioned a different developer for the toner. What do you mean? I bought the blond me developer 30% which is a cream developer for the bleach. Do I need to get another kind of developer for the toner? Is it more liquid and darker? If yes what do you use?
Hey!
If you go to the ‘What to use’ section its broken down there in more detail for each product – its the Schwarzkopf BLONDME Developer 2% 7 vol that I used for the toner 🙂
x
Hiya,
What exactly is the name of the toner you bought? I can’t seem to find it online.
Thanks 🙂
Hiya, its this one in the ice colour 🙂 https://www.stylink.it/2b17qs4Lp6 xx
hello and thank you for your review and sharing of your experience of bleaching and toning at home ! your hair turned out so beautiful !! it is very long, you mentioned that you used 2 tubes of Blondme Ice toner, and it was just enough ? I’m planning to buy it too, my hair is just about till my wings of my back (sorry English is not my first language, I hope you understand what I meant), like a bit lower than my shoulders. but I thought that 2 tubes of 60 ml is not enough, maybe 3 would be better ? what do you recommend?
Hello! You’re so welcome, I’m glad you found this helpful 🙂 I used two and my hair was long at the time. If you want to be safe then maybe buy a third as you an always use the toner again, but two should be enough! x