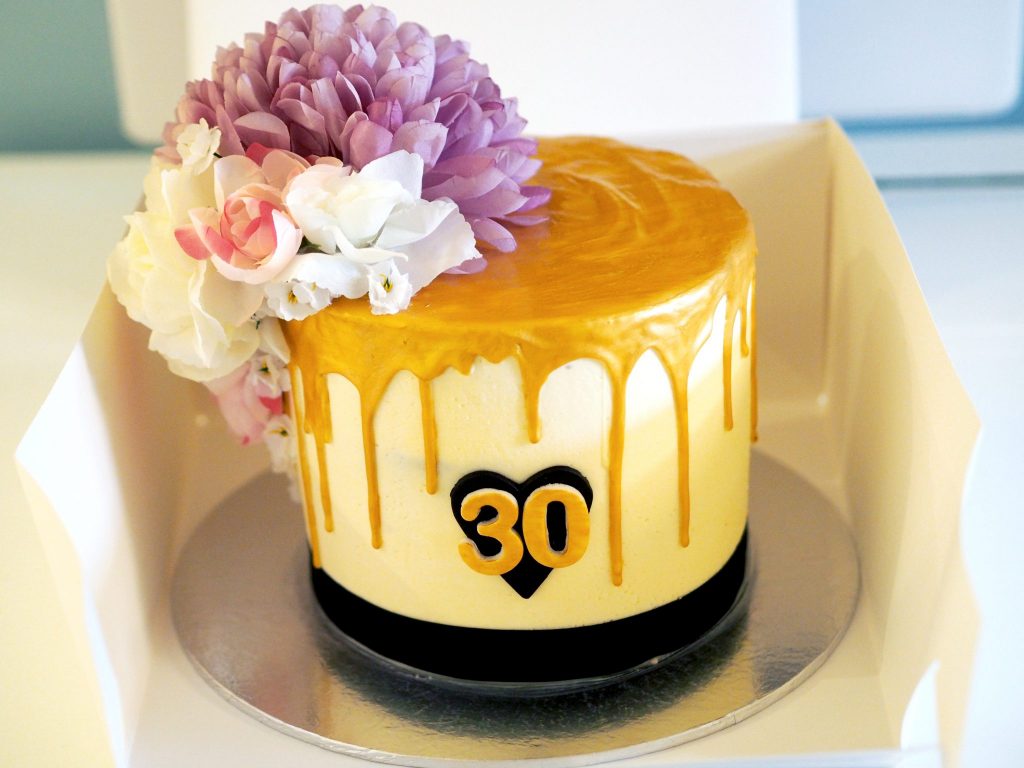
Today’s post is a little different than most, but hopefully the theme will be popping up a little more regularly on the blog. As you may or may not know, I used to be a professional baker here in Manchester. I also still bake cakes through my own little side business named Uppercake, taking bespoke cupcake, layer cake and wedding cake requests as and when I can. I thought it might be a nice addition to the blog to start featuring some of these to show you guys, and possibly doing little step-by-step tutorials for the ones you really like.
This one was a 30th Birthday Cake I created last year for one of my lovely friends. It is a totally style different to anything I had ever really made before, so there were a few new tricks and techniques I had to learn to put this one together – but I was really pleased with how it turned out. I have put together a step-by-step tutorial for anyone who might like to have a go, or just for those who are curious at how putting something like this together might look.
I won’t go into too much detail on ingredients and putting the basic cake together, as this is more about the decoration. However, if you are interested in the recipe or some more basic cake tutorials then let me know in the comments below and I will put something together!
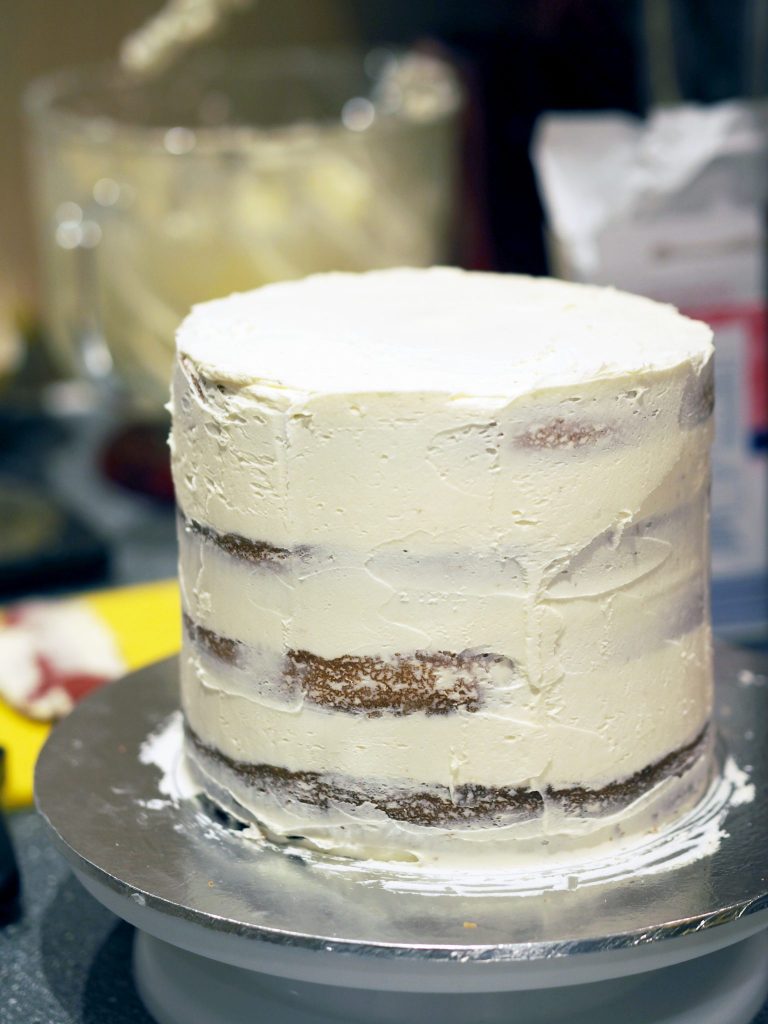
So first up I baked the sponge and assembled the cake. This style of cake looks really beautiful as a tall, thin cake, as opposed to the standard shorter, wider cakes, so I made this out of 4 eight-inch vanilla sponges layered with vanilla buttercream.
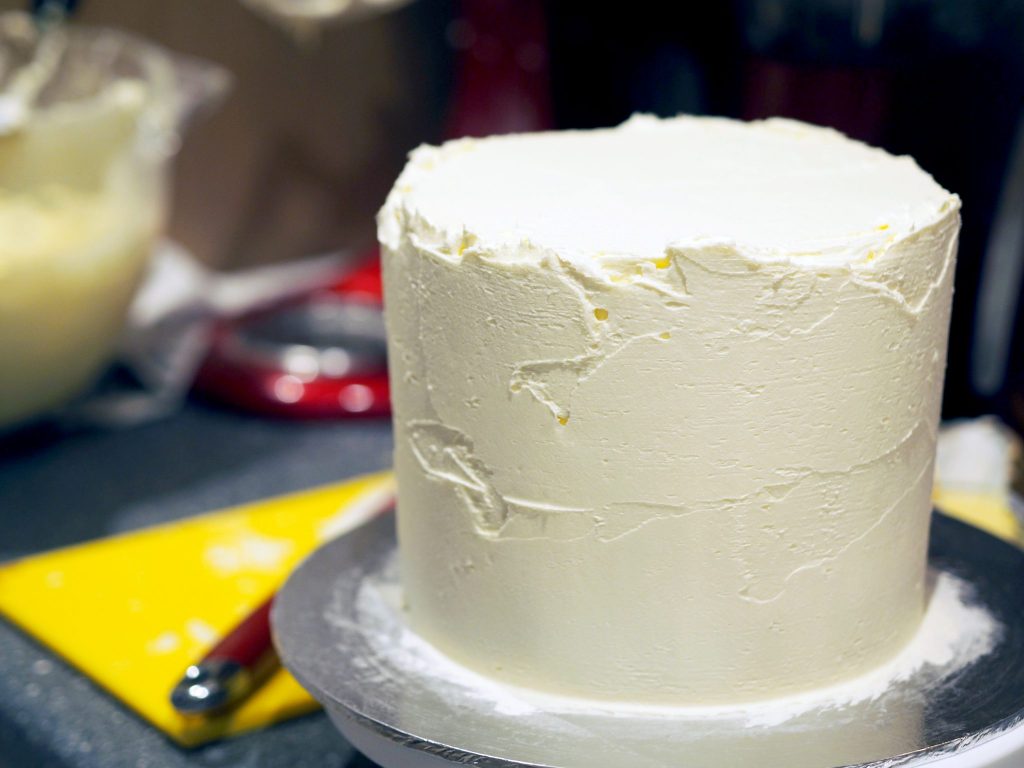
As the cake isn’t being covered with sugar paste (royal icing), the buttercream needs to be as smooth as you can get it, to achieve that very polished and elegant look. First of all I begin with filling in all the gaps between the sponge layers with plenty of buttercream, then taking a palette knife and adding a thin layer of buttercream over the whole cake. Try to make this smooth if you can, but at this stage the main thing is to get an even layer covering the cake. Pop this in the fridge to set.
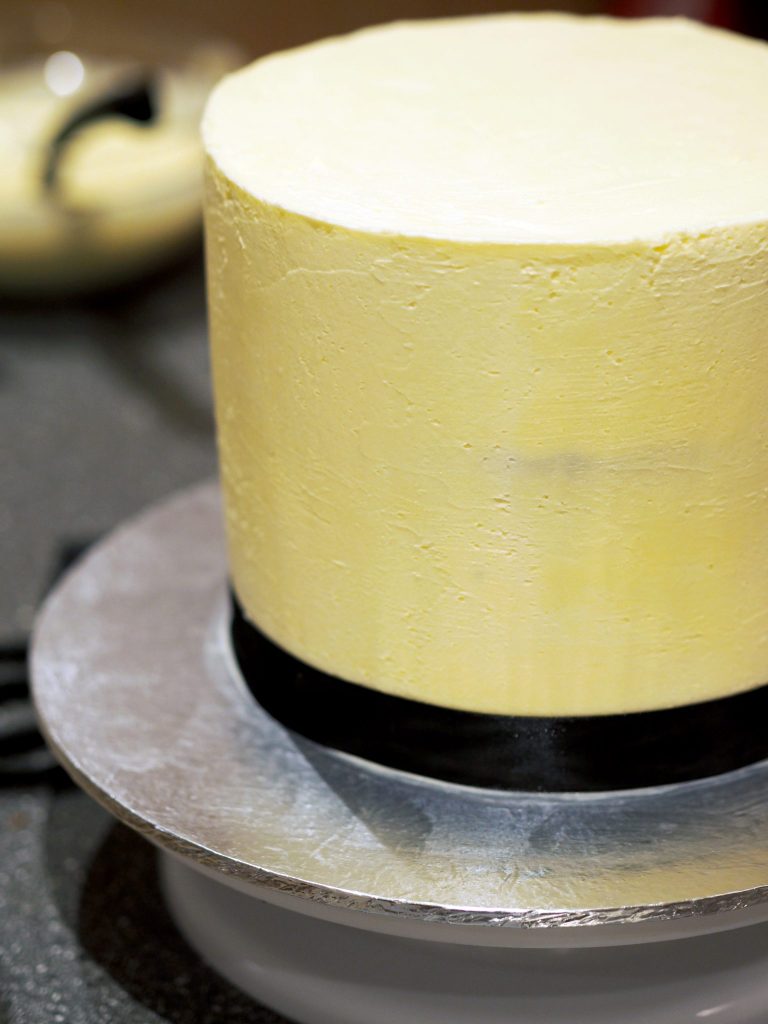
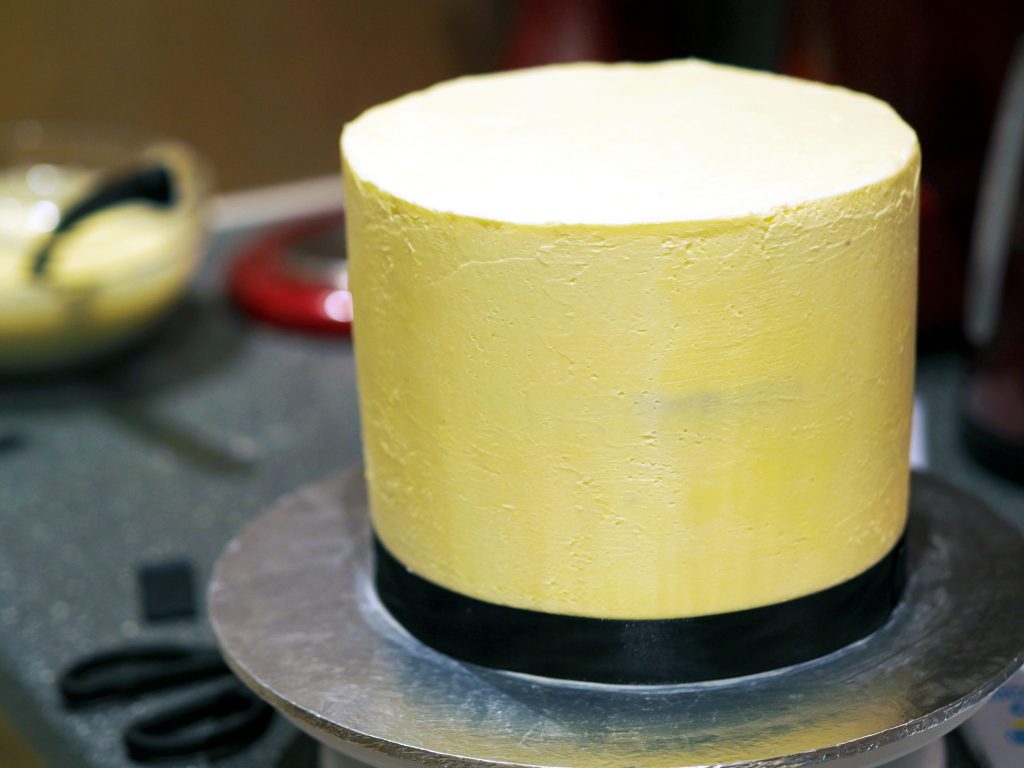
After about 15 minutes the buttercream should have set enough for you to add another layer and start to smooth this out. I use a combination of my palette knife and a scraper tool to apply more buttercream, and then spinning the cake slowly around on the turntable, smoothing and scraping the buttercream as neat as you can get it. Put it back in the fridge to set again, repeating this process until you are happy with the appearance. The buttercream should be opaque now, so you aren’t able to see any of the sponge cake underneath. It can take a while, and I must admit that I do end up getting a little OCD about it so it took me forever to get the perfect smooth coating. You should be able to do it in about 3-4 coats if you aren’t precious about it, although sometimes there are just areas that you can’t quite get 100% how you like them, but don’t worry – practise makes perfect!
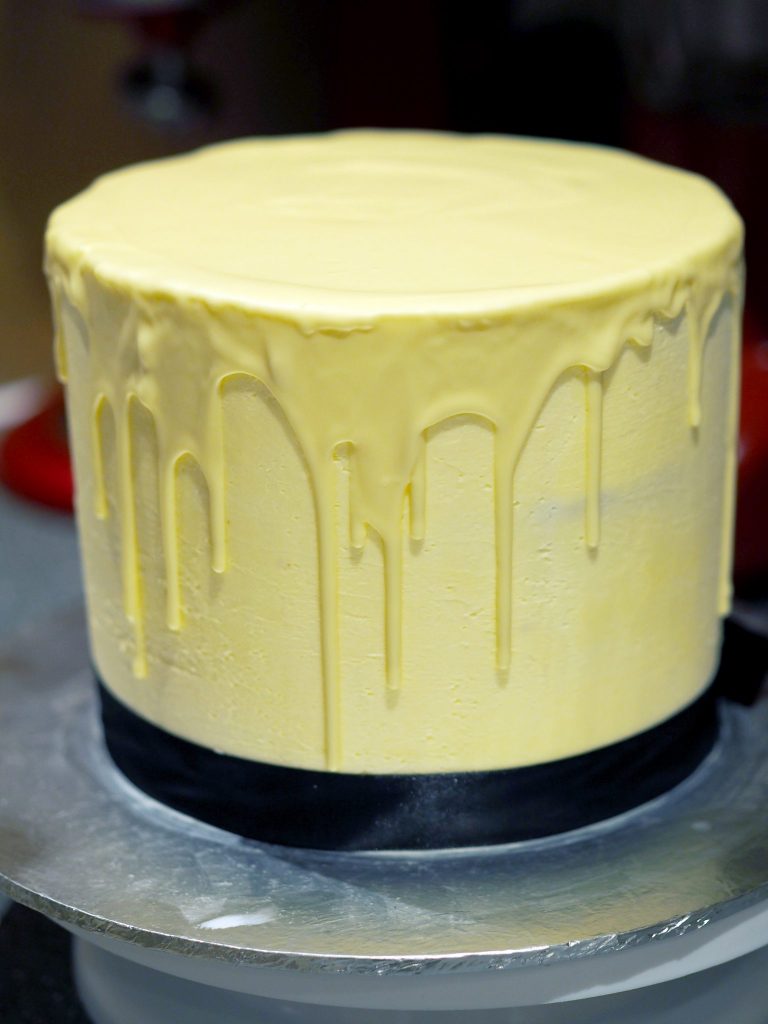
After the final layer of your buttercream has set, you can move on to creating the delicious looking drip-effect. I melted some good quality white chocolate over a bain-marie to avoid burning the chocolate (you could also use candy melts as an alternative to chocolate). You want to slowly pour this over the top of the cake, going quite close to the edges and then gently encouraging it over the sides with a small cake tool or your palette knife. The drips will create themselves and set naturally, so no need to touch the sides of the cake at all.
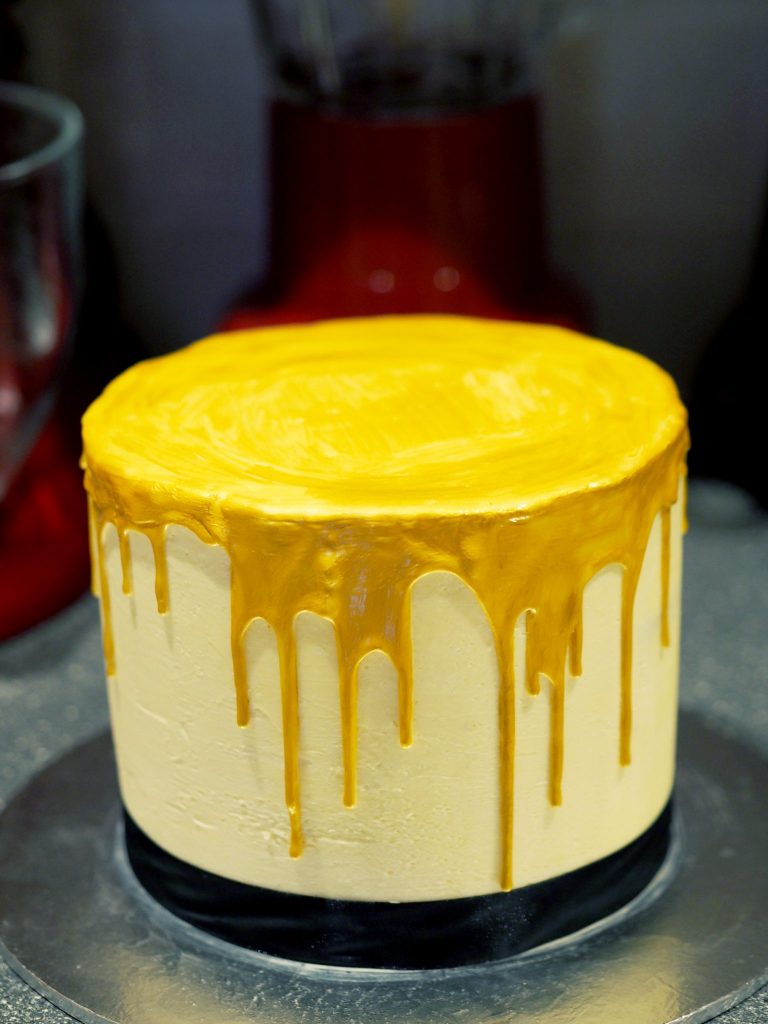
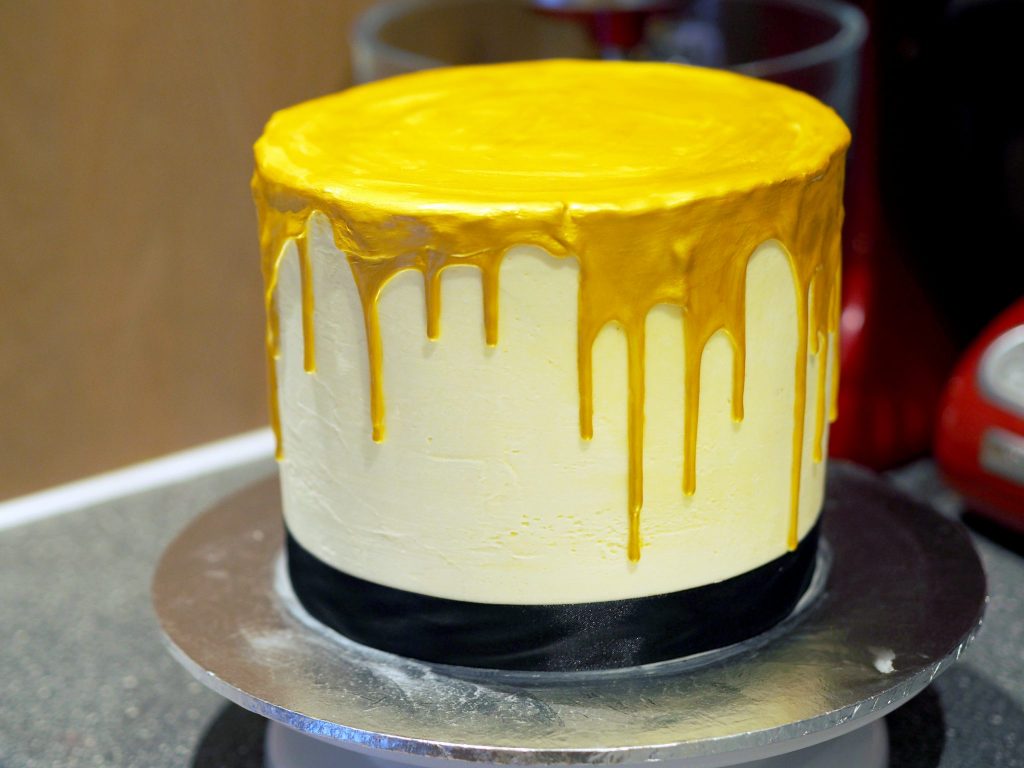
Once the chocolate has fully set all over (this may take a while) you can begin to paint it. I bought some edible gold paint online and used my cake paintbrushes to do this. If you are going to create this sort of thing on a regular basis, it is definitely worth buying yourself a good set of paintbrushes for decorating your cakes. I tend to always need different sizes dependant on the detail and decoration of the cakes, so they are a must-have in my cake decorating kit! Different colours and types of paint can have different consistencies, and I actually found this particular gold paint to be rather translucent, meaning I had to let it dry and give it about 3-4 coats before I was happy with the colour. I also found that it wasn’t as metallic as the edible spray-paint cans, but with something so detailed you just wouldn’t be able to use these here.
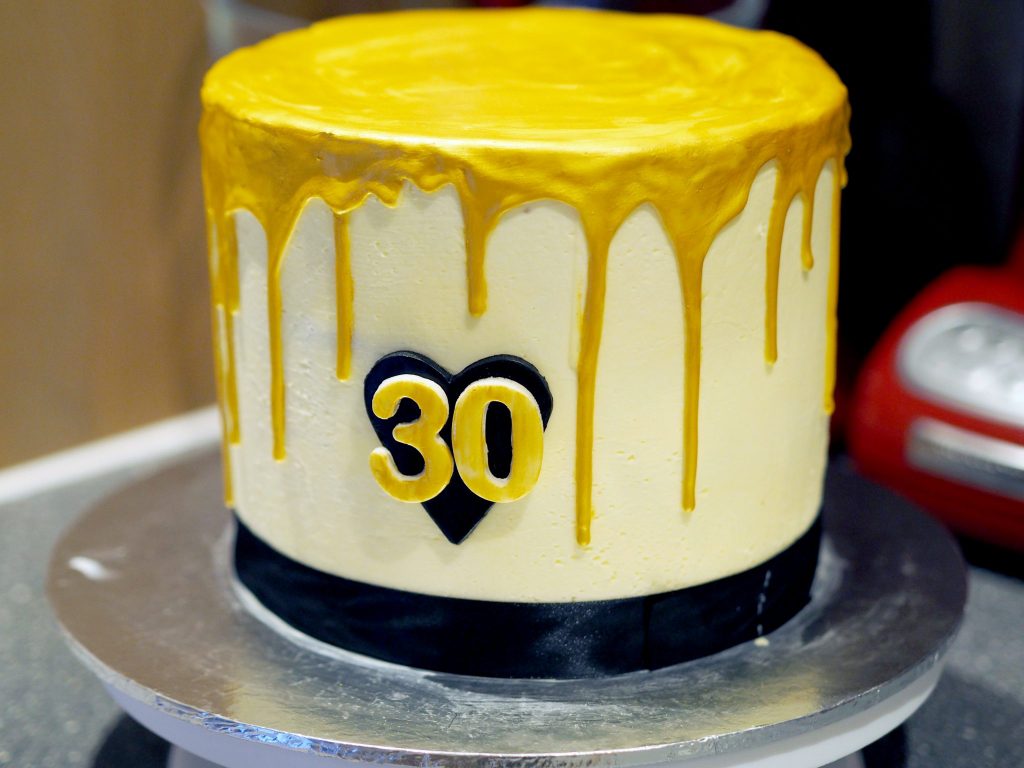
To personalise the cake, I cut out a sugar paste heart and the number 30, painting this in gold to fit in with the colour scheme. I added black ribbon and a black heart, as I thought the black, white and gold colour combination was very bold but classic at the same time.
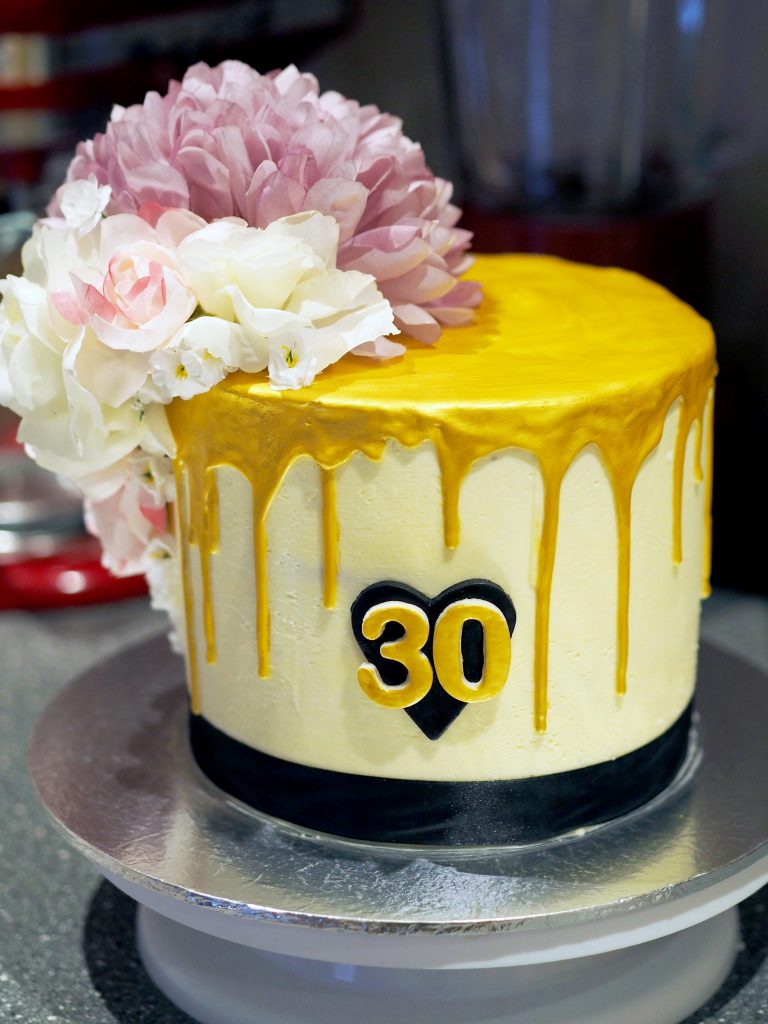
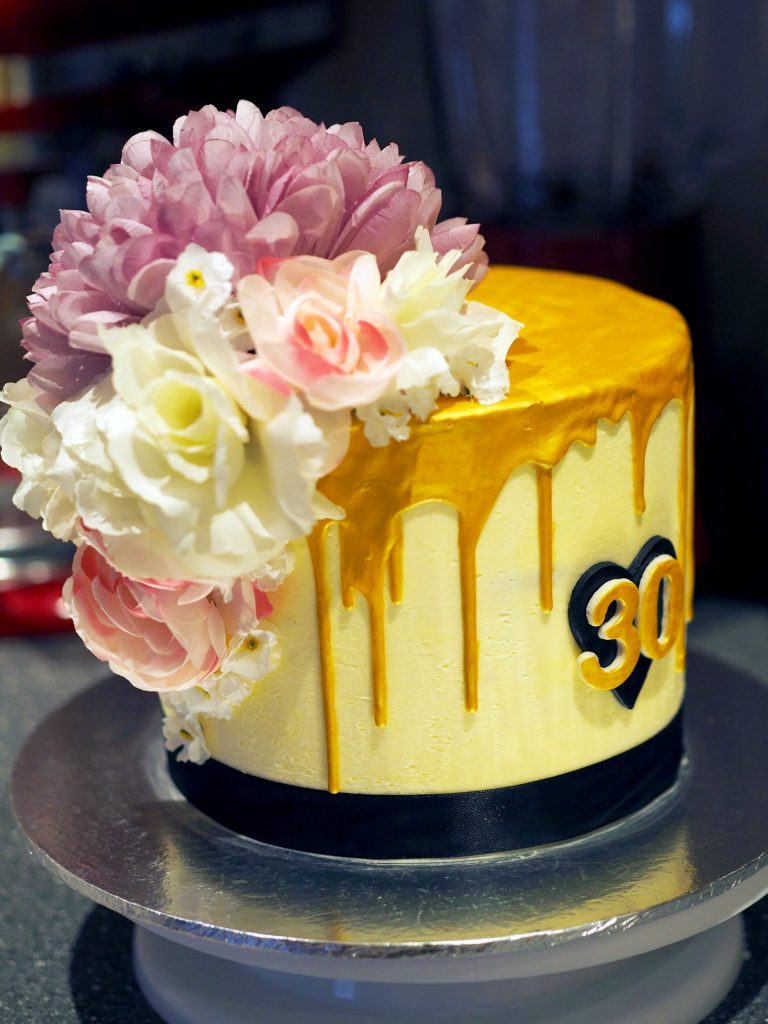
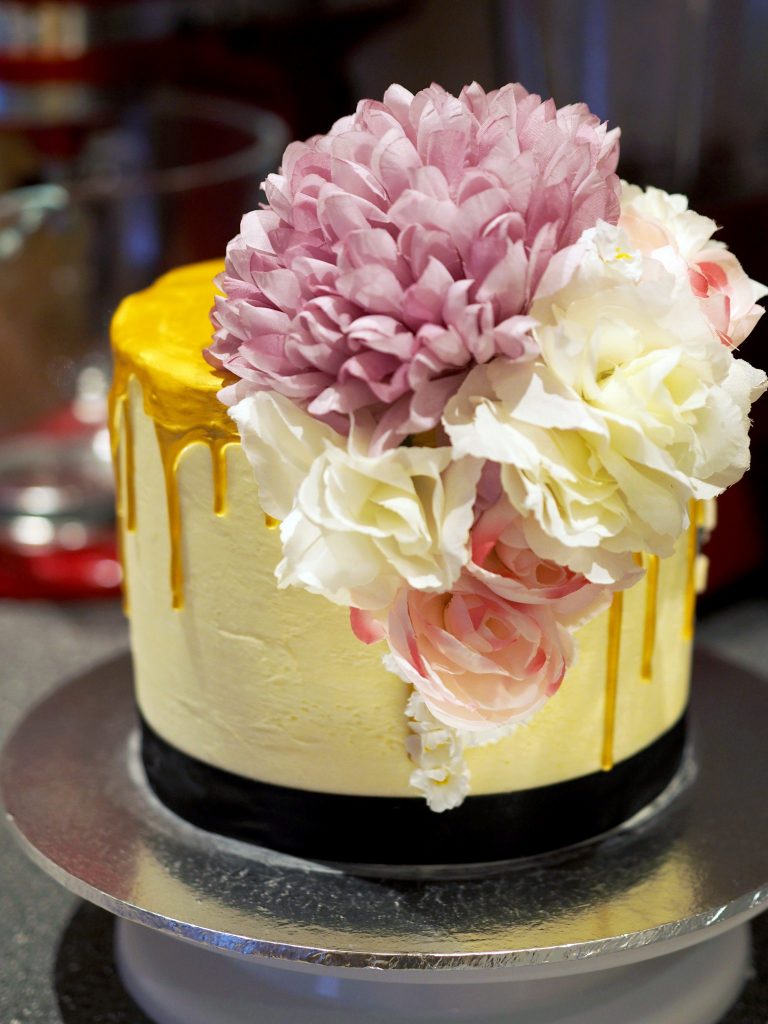
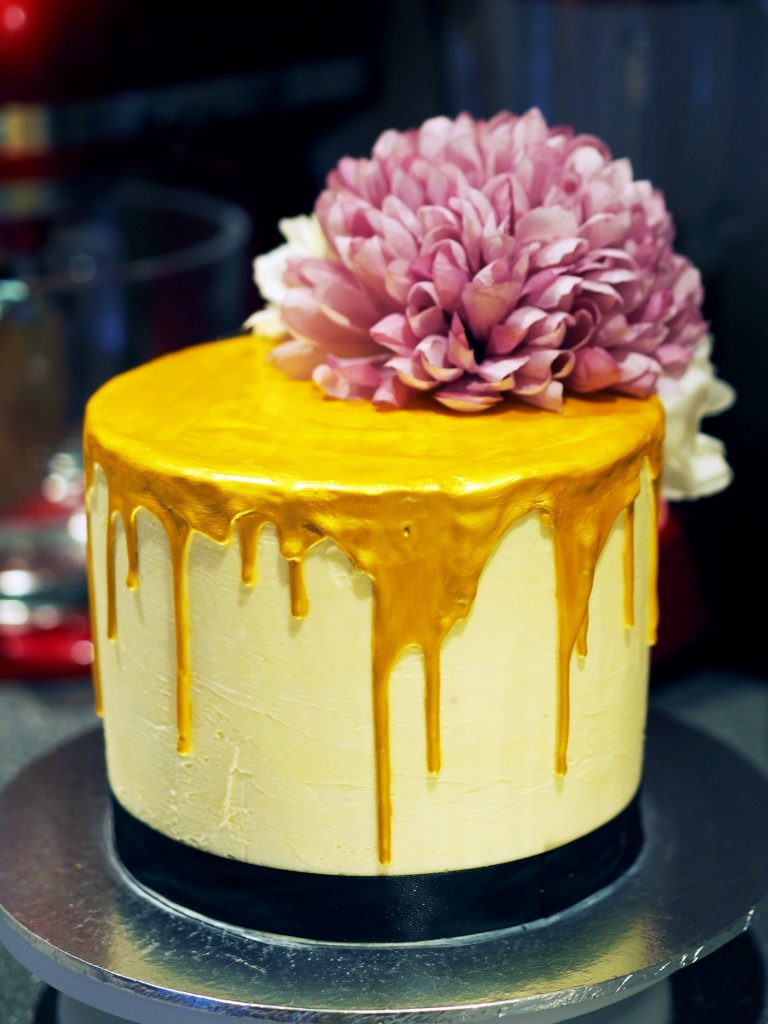
To complete the cake, I added some artificial flowers. You can, of course, make these using edible flower paste or something similar; if you want the full cake to be edible. I actually really liked the look of these and wanted to build a bold collection of large flowers on the top of the cake, flowing down the side, so I thought buying faux ones would be better for the job than my not-so-great flower making skills. Plus these ones are super easy to get hold of and there are so many different colours and types to choose from that it makes it incredibly easy. They are also on wires so easy to secure onto the cake easily and mess-free.
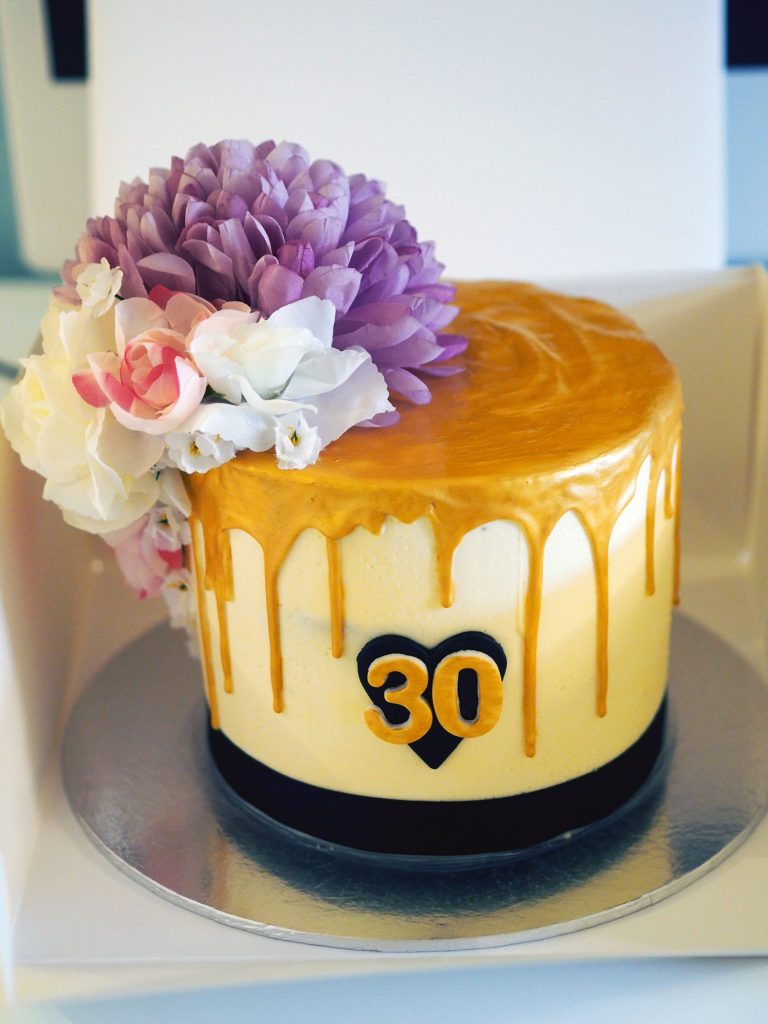
Et voila! A chic 30th birthday cake, complete with golden chocolate drips and cascading flowers.
Hope you enjoyed this post! Please do let me know what you thought in the comments below, and if there are any other cake tutorials you might like to see.
LL x
Leave a Reply