
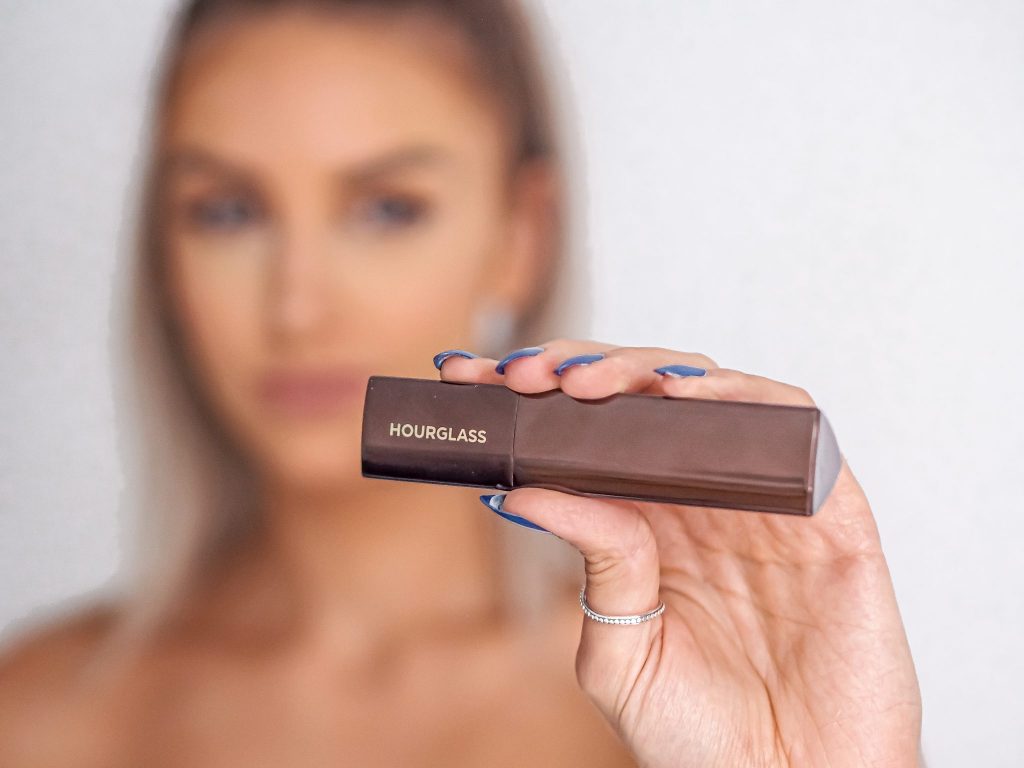
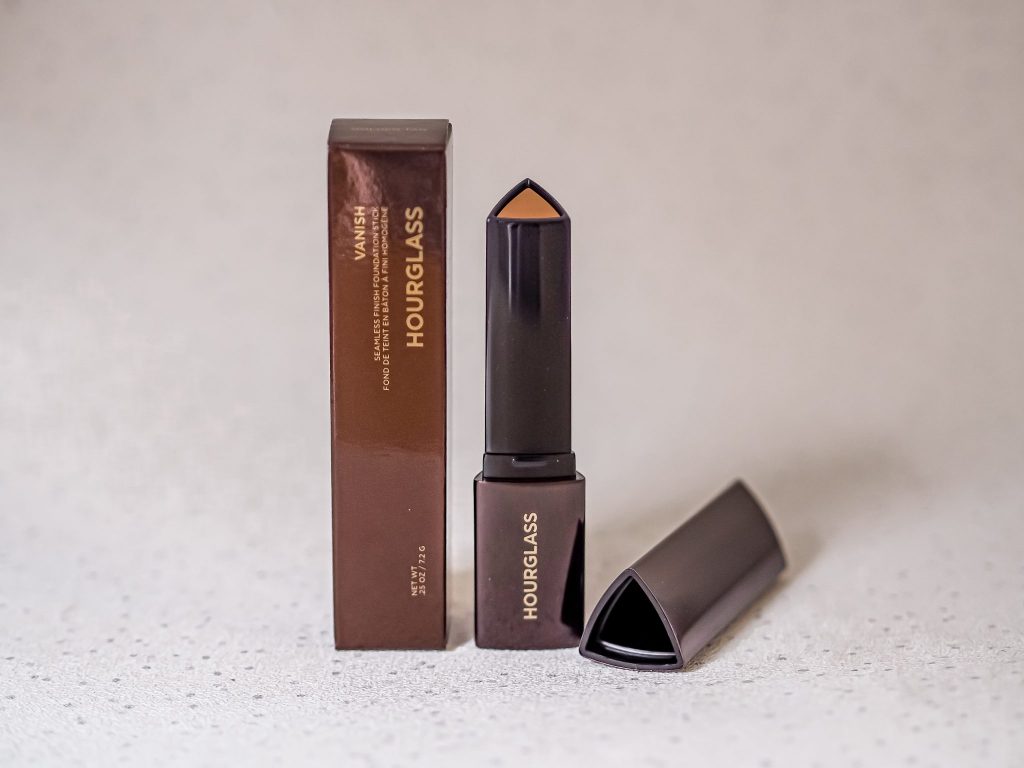
Hourglass Vanish Seamless Finish Foundation Stick
I know, I’m definitely a little (ahem, a lot) late to the game on this one. The Hourglass Vanish Stick Foundation had been on my wish list for a good year or so before I decided to pick one up. I’m one of those people that sticks with a foundation once I know I’ve found a good one that I love. I’ve now been using the Hourglass Vanish Seamless Finish Foundation Stick for a good few months to make sure I really knew if I liked it or not. When it was first released I saw pretty much every blogger I follow using it and I didn’t see one negative review. In fact, quite the opposite. So many influencers announced this as their new favourite foundation, so naturally I had to have it. Influencer marketing at its finest.
It is a higher end product so it’s a little on the pricier side; definitely one I use more for special occasions rather than just everyday wear. I don’t tend to wear foundation every day anyway so this has become my go-to for those days that I do.
After sitting on my wish list for over a year, I decided to purchase it on my last trip to the US. After all, a holiday justifies treating myself to new makeup too right?! I’d thought about ordering it online before I went, but with this formula I’d definitely recommend picking it up in person so you can try a few swatches and match your skin best. In my opinion it is high-coverage which means if you get the wrong colour, your face could be completely mis-matched to your body; I find I can get away with it a little more if it’s sheer as my skin tone balances out the shade.
Choosing your Shade
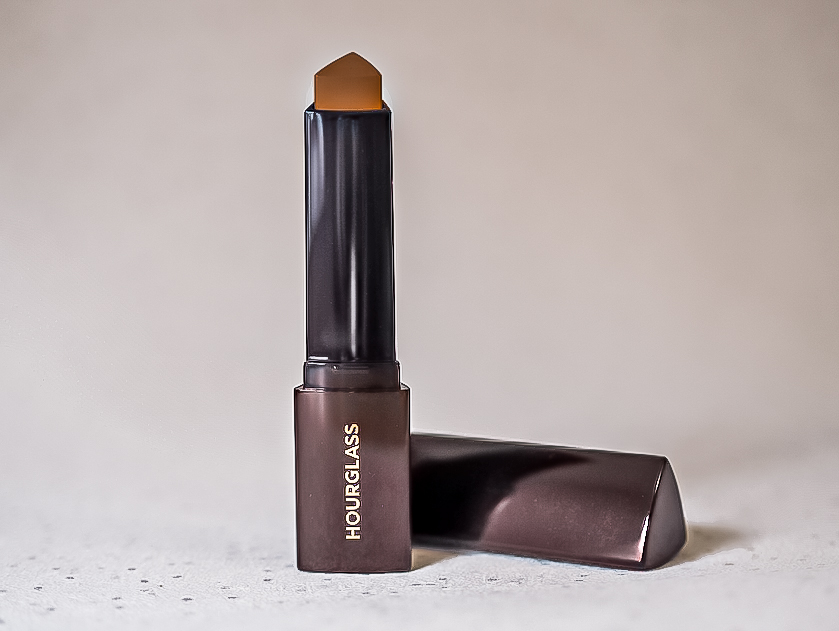
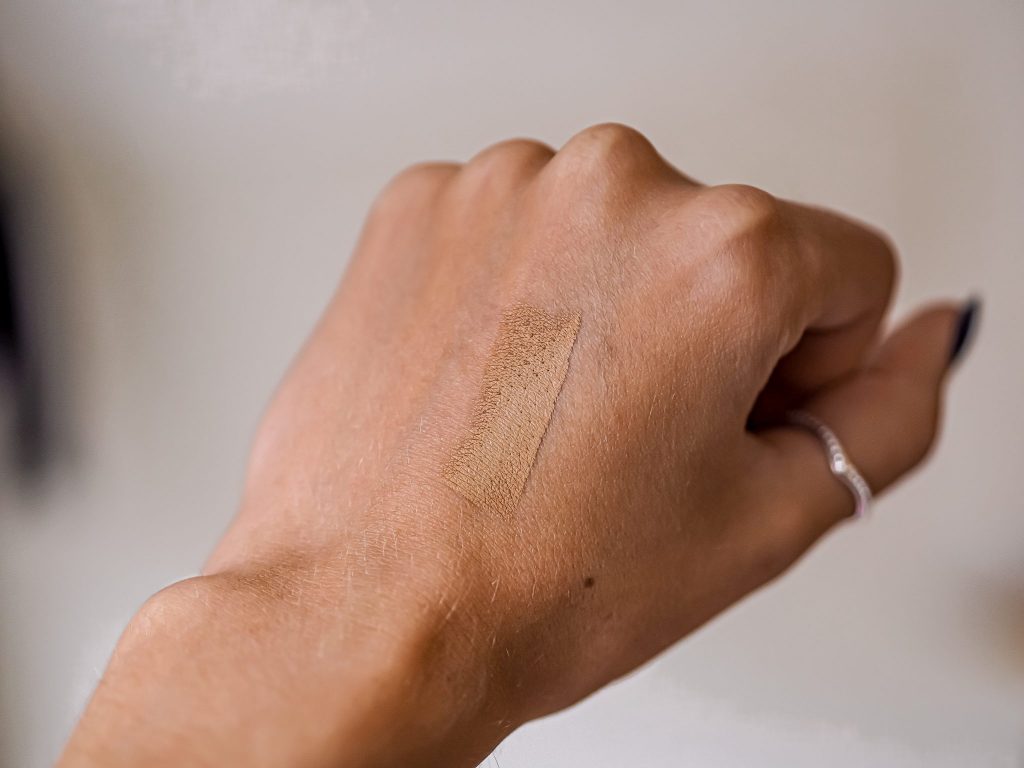
The store assistant in Sephora did actually suggest a couple of shades lighter for me. However, I often choose a foundation that is a couple of shades darker than my normal skin colour. My face is (annoyingly) always paler than my body anyway, plus this allows for fake tan or holiday bronze. I find I can always lighten it up slightly with under-eye concealer to make it more balanced if it is a little dark. I chose shade ‘Golden Tan’ for reference, and am really glad I did. When I re-purchase I will definitely go for the same tone again. I’ve opted for lighter shades in other foundations before and ended up buying the drops that deepen the shade otherwise I know I wouldn’t wear it. With this type of formula I wasn’t sure how well that would work so I figured it would be safer to opt for a deeper colour.
I’ve never used a stick foundation before, so it took some getting used to and playing around with the best way to apply. For me, applying it straight onto the face, then buffing out with a brush achieves the smoothest appearance. I did try it with a beauty blender as this is what I use religiously for liquid foundation. The stick formula is quite thick and the sponge doesn’t really move the product around the skin enough, so you can end up with patches where you’ve applied the product onto the face. My go-to brush at the moment is the Real Techniques 001 Foundation Brush. It’s super affordable and achieves the perfect even coverage.
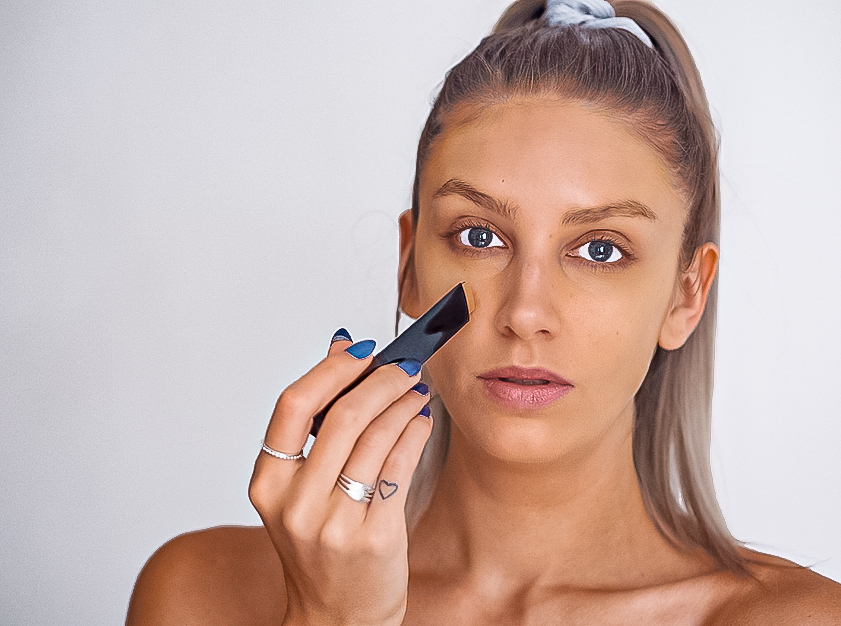
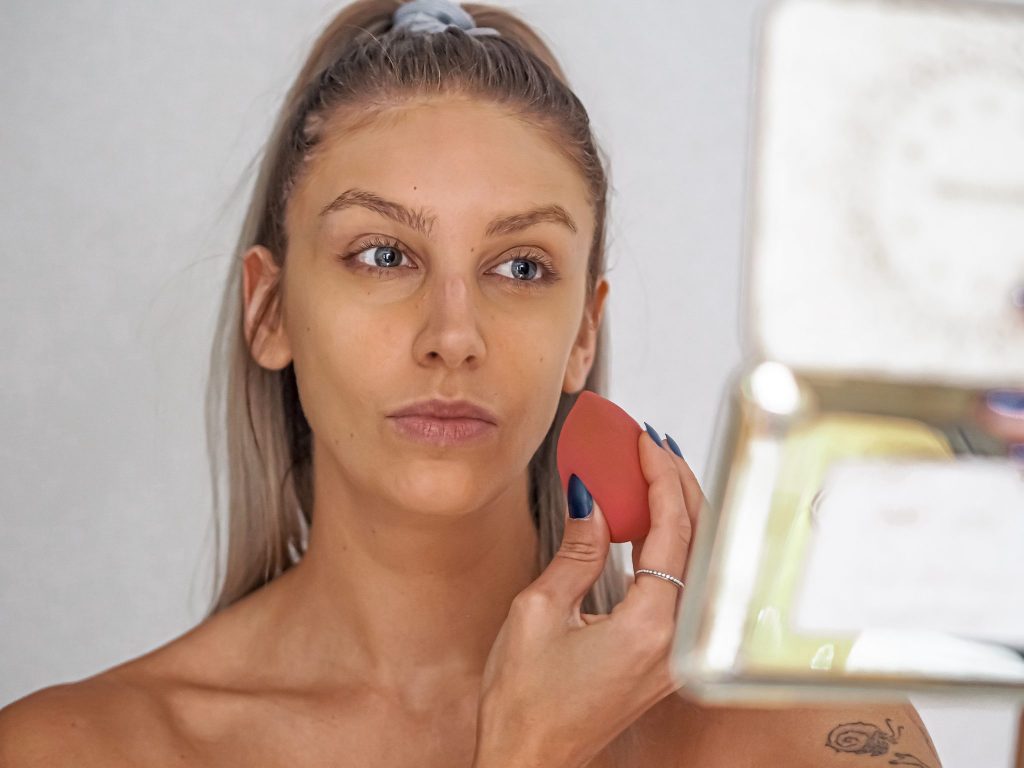
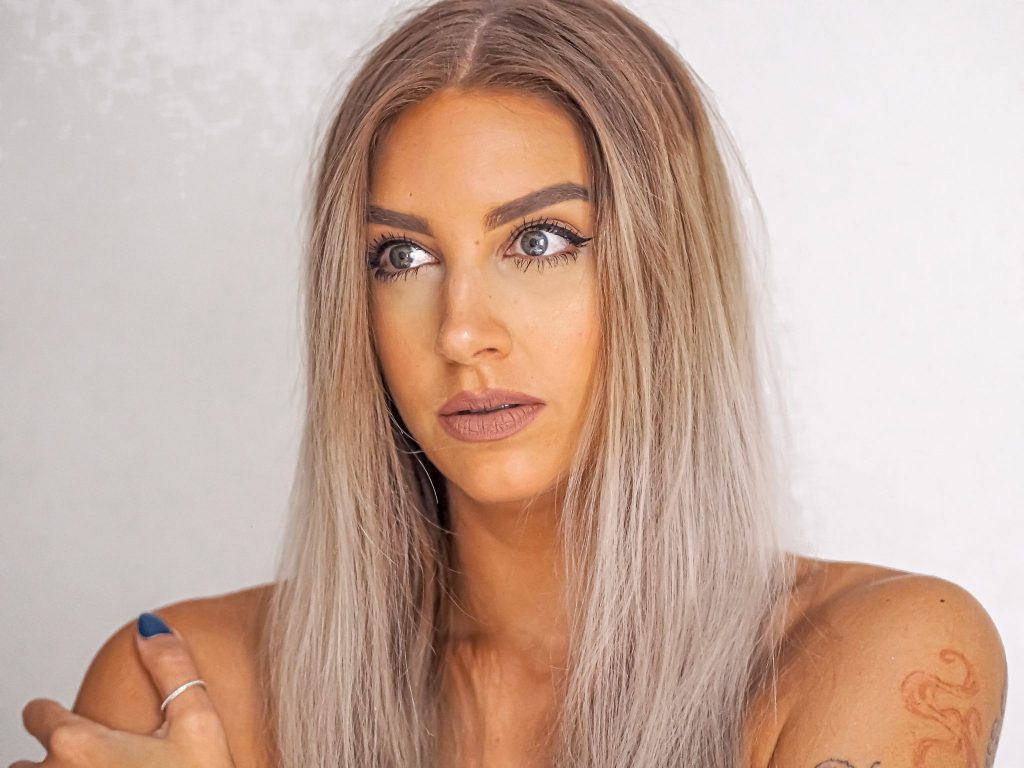
Application
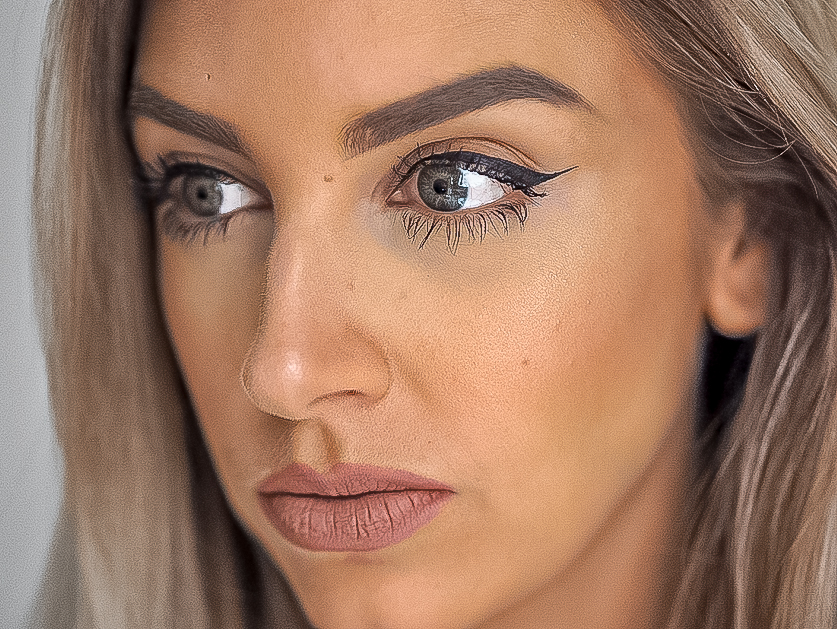
As mentioned, I find this to be high-coverage with one application. I’ve also seen others talk about this being buildable. I find that if you begin with applying more straight onto the skin you do get a stronger colour; likewise with less on the skin can just give you a nice flawless base without feeling heavy. The nature of the formula for me does make it feel thicker than say, a liquid foundation might, but it definitely doesn’t feel heavy. I think this is why I love it so much; it’s the perfect balance of full-coverage, beautiful colour and blendable, whilst still feeling light on the skin. Some high coverage foundations can just feel like an extra layer on-top of your skin, but this just melts in and wears really comfortably.
The staying power is also incredible. After applying this, I go in with concealer and use my beauty blender to blend in. Despite the Beauty Blender not quite working to apply the foundation, it still blends concealer into the base with a lovely smooth finish; no harsh lines here! I finish with the Laura Mercier Loose Translucent Setting powder under the eye and in the areas that I tend to get a little shiny. After this I am set for the day! The Hourglass foundation stays totally put with no creases, smudges or wrinkles whatsoever. I an easily go a full day in this without re-applying or any touch-ups.
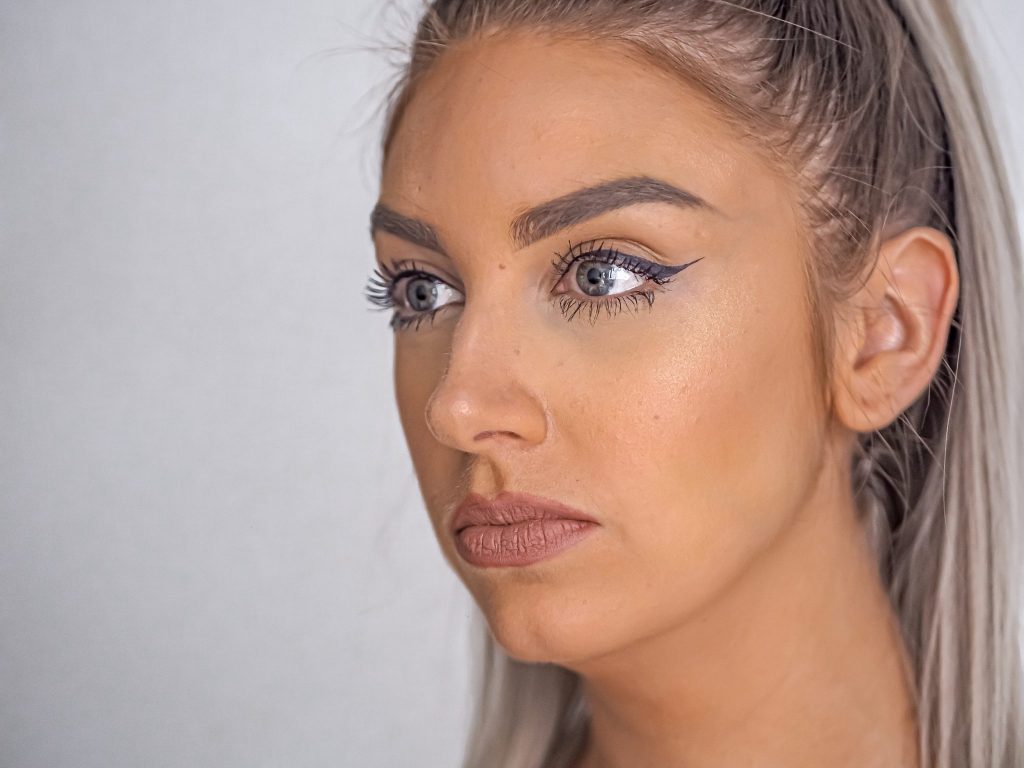
My Review
And finally, I couldn’t write this without mentioning the packaging. It’s so sleek and feels super high-end. The design also makes it my favourite foundation to travel with. It isn’t heavy and I have no worry about the bottle breaking or it leaking in my bag. I never buy travel-size foundation so I usually just pack my standard one. This can sometimes be a little bulky for a short trip. The Hourglass Vanish stick is super compact so I can just throw it into my bag without a second thought.
As expected when seeing other reviews, this has easily become my favourite foundation. I can categorically say that I will be repurchasing this for sure. I really don’t have anything I could fault about it at all. My only consideration would be that this may not be for you if you prefer a lightweight makeup like a BB or CC cream rather than a foundation. But for those full-makeup moments, this is simply perfection!
Hourglass Vanish Seamless Finish Foundation Stick available here (US) and here (UK) – £42
LL x
Leave a Reply